 Pin Recipe
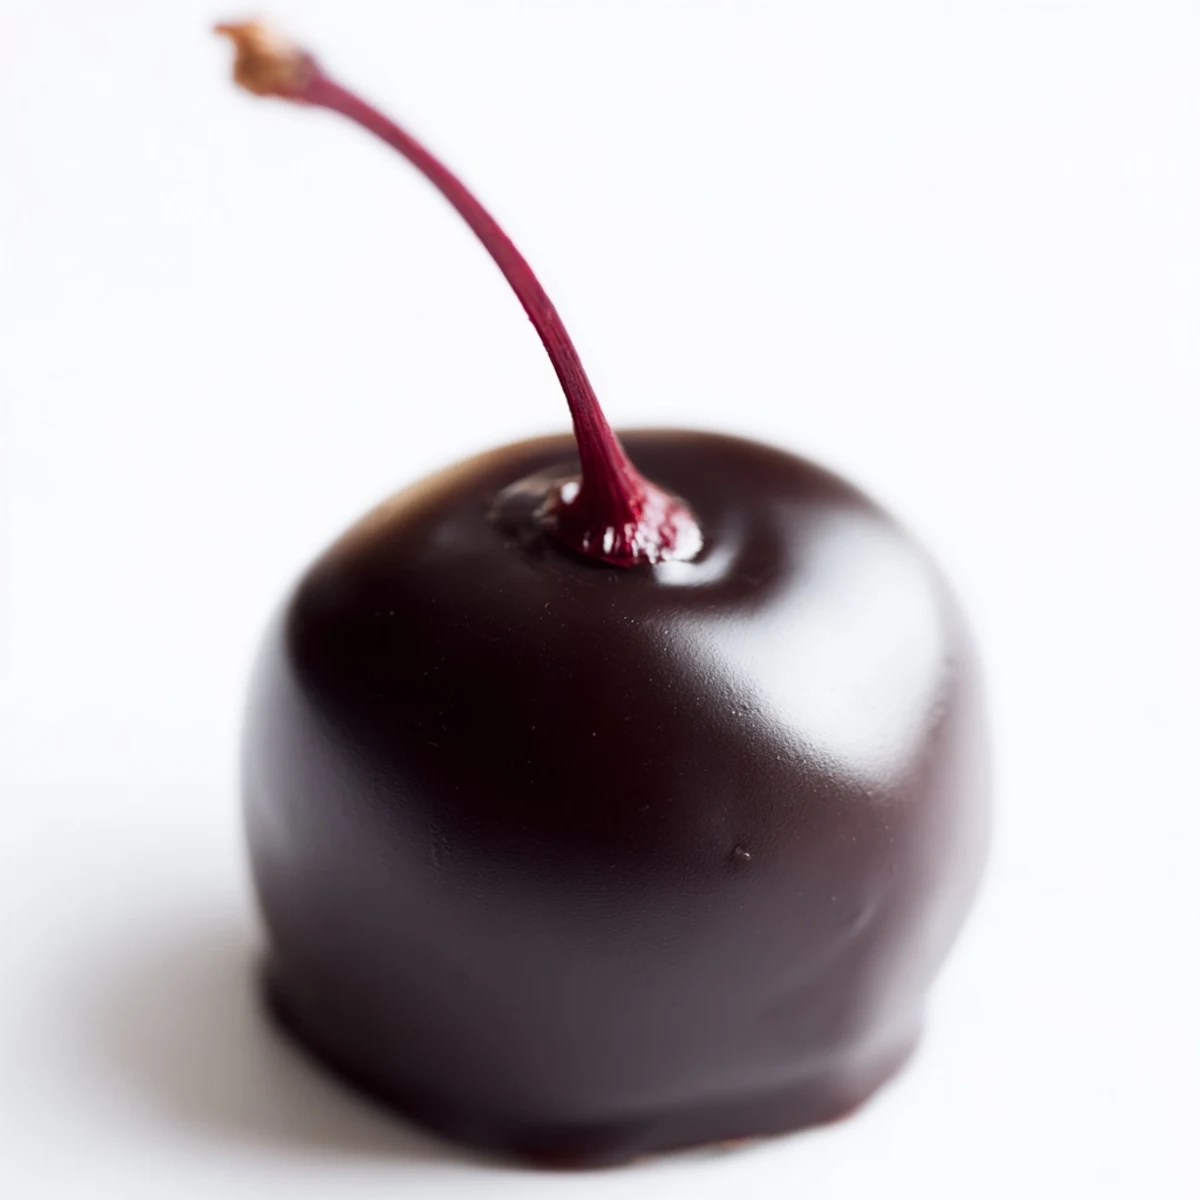
 This delightful confection guides you through creating luscious chocolate-covered cherries. Start by preparing a sweet, pliable fondant, meticulously wrapping each juicy maraschino cherry. These fondant-covered gems are then chilled to firm up, ensuring a perfect foundation before their decadent dip. The cherries are then enrobed in smooth, melted dark chocolate, sealing in all the delicious flavors. A final chill sets the chocolate, but the real magic happens over the next 1-2 weeks as the fondant inside slowly liquefies, transforming into a creamy, luxurious center. Perfect for a gourmet treat or a thoughtful homemade gift. Detailed steps for preparation and melting ensure success, with notes on variations like a boozy soak or different chocolate types.
The smell of melted chocolate always transports me back to childhood holidays. One crisp December afternoon, I was trying to impress my aunt with homemade treats, and these chocolate-covered cherries were my ambitious project. The kitchen air hung thick with sweetness and a faint tang from the cherries, a comforting scent that still signals pure joy. I remember carefully unwrapping each stem, feeling a quiet anticipation for the magic about to happen.
I recall making a huge batch of these one Christmas for a potluck, and every single one disappeared from the dessert table. My neighbor, Mrs. Henderson, pulled me aside with wide eyes, asking for the recipe, swearing they were better than any store-bought version. That proud glow lasted for days, proving that sometimes, the simplest candies make the biggest impression. The quiet "oohs" and "aahs" from guests as they bit into them were the best kind of feedback.
Ingredients
- Maraschino cherries with stems: These provide the juicy, tart contrast to the sweet fondant; make sure they are well-drained and patted very dry to prevent a soggy mess.
- Powdered sugar: The essential foundation for our smooth, sweet fondant; sifting it ensures no lumps and a perfectly creamy texture.
- Unsalted butter: Softened, it gives the fondant its luxurious body; it needs to be truly soft, not melted, for the best consistency.
- Light corn syrup: Don't skip this ingredient, as it adds gloss and crucially prevents sugar crystallization in the fondant, ensuring a smooth chew.
- Milk: Just a touch brings the fondant dough together; add it slowly, as humidity can affect how much you need.
- Pure vanilla extract: This enhances the overall sweet flavor profile; using a good quality extract makes a noticeable difference.
- Pinch of salt: Even in sweet treats, a tiny bit of salt balances and elevates all the other flavors beautifully.
- Dark or semi-sweet chocolate, chopped: The perfect shell for our sweet treat; choosing high-quality chocolate elevates the entire candy to something truly special.
- Coconut oil (optional, for shine): A tiny bit helps thin the melted chocolate for a smoother dip and a lovely sheen without altering the flavor significantly.
Instructions
- Prep Your Workspace:
- Line a baking sheet with parchment paper, creating a non-stick haven for your soon-to-be-dipped treasures. This simple step makes cleanup so much easier later.
- Whip Up the Fondant:
- In a medium bowl, combine your powdered sugar, softened butter, corn syrup, milk, vanilla, and salt, mixing until you have a smooth, pliable dough. Feel the texture between your fingers; it should be soft but not sticky enough to cling.
- Fondant Hugs for Cherries:
- Take a small teaspoon of fondant, flatten it gently into a disk, and lovingly wrap it around each drained cherry, ensuring no red peeks through. Place each perfectly swaddled cherry onto your prepared baking sheet.
- The Chill Factor:
- Pop your fondant-wrapped cherries into the freezer for about 20 minutes; this firms them up nicely, making them much easier to handle for their chocolate bath.
- Melt the Chocolate Magic:
- Set up a heatproof bowl over simmering water (or use your microwave with caution) and gently melt your chopped chocolate with the coconut oil, stirring until it's gloriously smooth and glossy. The rich aroma alone is half the joy!
- The Big Dip:
- With a fork or dipping tool, carefully submerge each firm, fondant-covered cherry into the warm, melted chocolate, allowing any excess to drip back into the bowl. Return them to the parchment-lined baking sheet.
- Set and Wait:
- Refrigerate your beautiful creations until the chocolate is completely set, which usually takes about 30 minutes. You want them firm before storing.
- The Flavor Reveal:
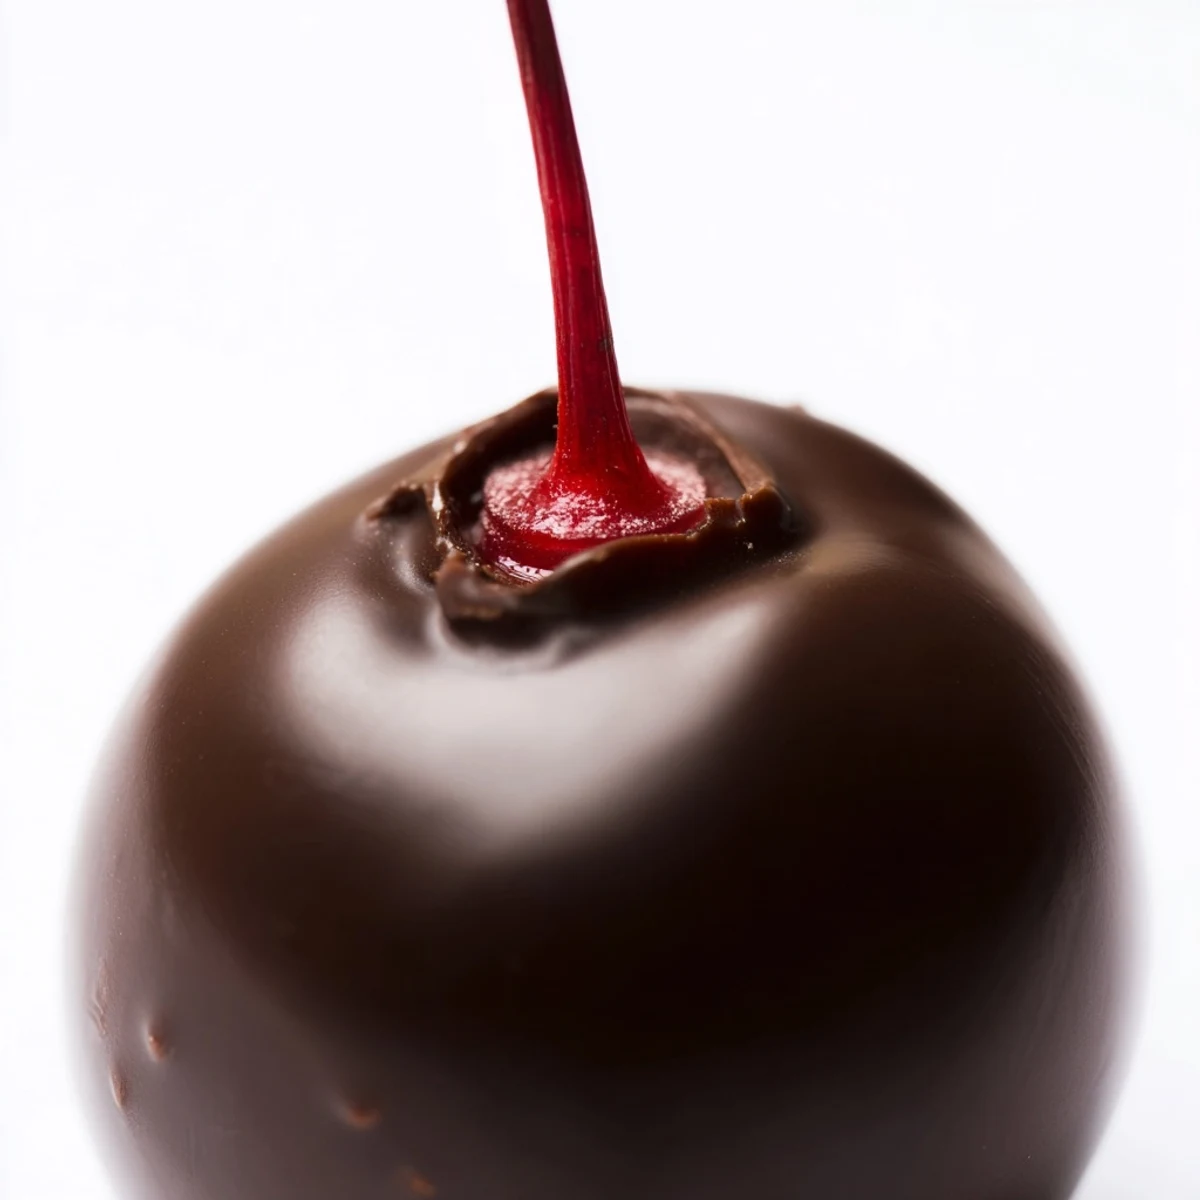
- For the truly magical part, let these candies sit at room temperature for one to two weeks before serving. This patiently allows the fondant to liquefy and create that classic gooey center, a transformation that’s absolutely worth the wait.
 Pin Recipe
 I remember my grandmother’s eyes lighting up when I brought her a box of these, hand-tied with a satin ribbon, one holiday season. She always said they reminded her of her own mother's kitchen, filled with the bustling sounds of family and festive baking. Sharing that small piece of edible luxury felt like connecting generations, a simple candy becoming a vessel for cherished family memories. It’s more than just a sweet; it’s a tangible piece of love and tradition.
Mastering the Fondant Wrap
Getting the fondant just right around the cherry takes a little practice and a gentle touch. I found that rolling it into a small ball first, then flattening it into a disk in the palm of my hand, works best. The natural warmth of your hands helps make it more pliable and easier to mold. Ensure there are no gaps or thin spots, or the cherry juice can unfortunately seep out, making a sticky, less appealing mess.
Chocolate Dipping Zen
Dipping can feel like the messiest part, but with a bit of focus, it can actually be a calming, almost meditative process. I often put on some gentle music and just get into the rhythm of the motion. Don't be afraid to double dip if you desire a thicker chocolate shell, just make sure the first layer is fully set before going in for a second coat. A steady hand and a confident, swift dip are truly your best friends here for a smooth finish.
The Patience of Perfection
The hardest part of this recipe for me has always been the waiting; it feels truly counter-intuitive to leave homemade candy untouched for a week or two. However, trust the process completely! This resting period isn't just a suggestion; it's essential for the enzyme naturally present in the cherry to break down the sugar in the fondant, creating that delightful, classic liquid center.
- Store them in a cool, dark place, away from direct sunlight or any extreme temperature fluctuations.
- An airtight container is crucial to prevent them from drying out or absorbing any other unwanted flavors from your pantry.
- Write the date on the container so you know exactly when they'll be perfectly ready for that first magical bite.
 Pin Recipe
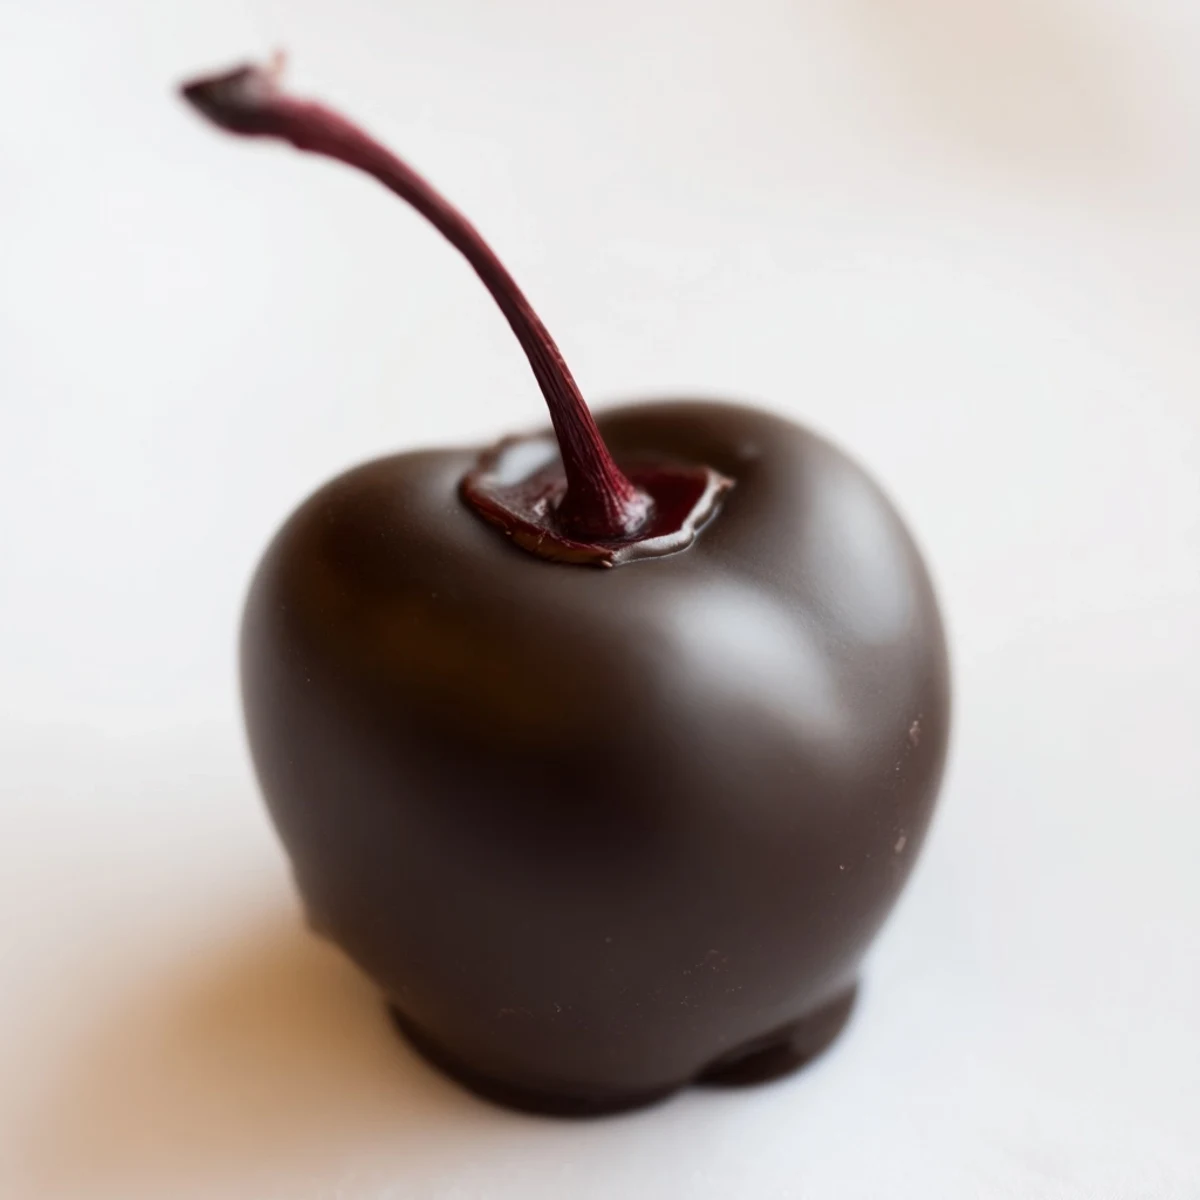
 These homemade chocolate-covered cherries are more than just a sweet confection; they're a little piece of edible art and a testament to patient crafting. Enjoy the delicious alchemy of flavors and textures that makes this candy so uniquely satisfying, whether you're sharing or savoring solo.
Recipe FAQs
- → How to prevent cherries from becoming watery?
-
Ensure maraschino cherries are thoroughly drained and patted completely dry before beginning. Excess moisture can prevent the fondant from adhering properly and affect the final texture.
- → Can I use different types of chocolate?
-
Absolutely! While dark chocolate offers a classic contrast, you can substitute it with milk chocolate for a sweeter profile or white chocolate for a different aesthetic. Just ensure it's a good quality melting chocolate.
- → Why do the candies need to sit for 1-2 weeks?
-
This resting period allows the enzymes from the cherry to naturally break down and liquefy the fondant center. This creates the signature creamy, liquid filling characteristic of traditional chocolate-covered cherries.
- → What if my fondant is too sticky or too dry?
-
If the fondant is too sticky, gradually add a little more powdered sugar until it reaches a pliable, non-sticky consistency. If it's too dry and crumbly, add milk, a few drops at a time, until it comes together smoothly.
- → How should I store these confections?
-
Store the chocolate-covered cherries in an airtight container at room temperature. They are best enjoyed after allowing them to sit for 1–2 weeks to achieve the desired liquid center.
- → Can I make these ahead for a special occasion?
-
Yes, in fact, making them ahead is recommended! The candies improve significantly over time as the fondant center liquefies. Plan to make them at least 1-2 weeks before your event for optimal results.
