 Pin Recipe
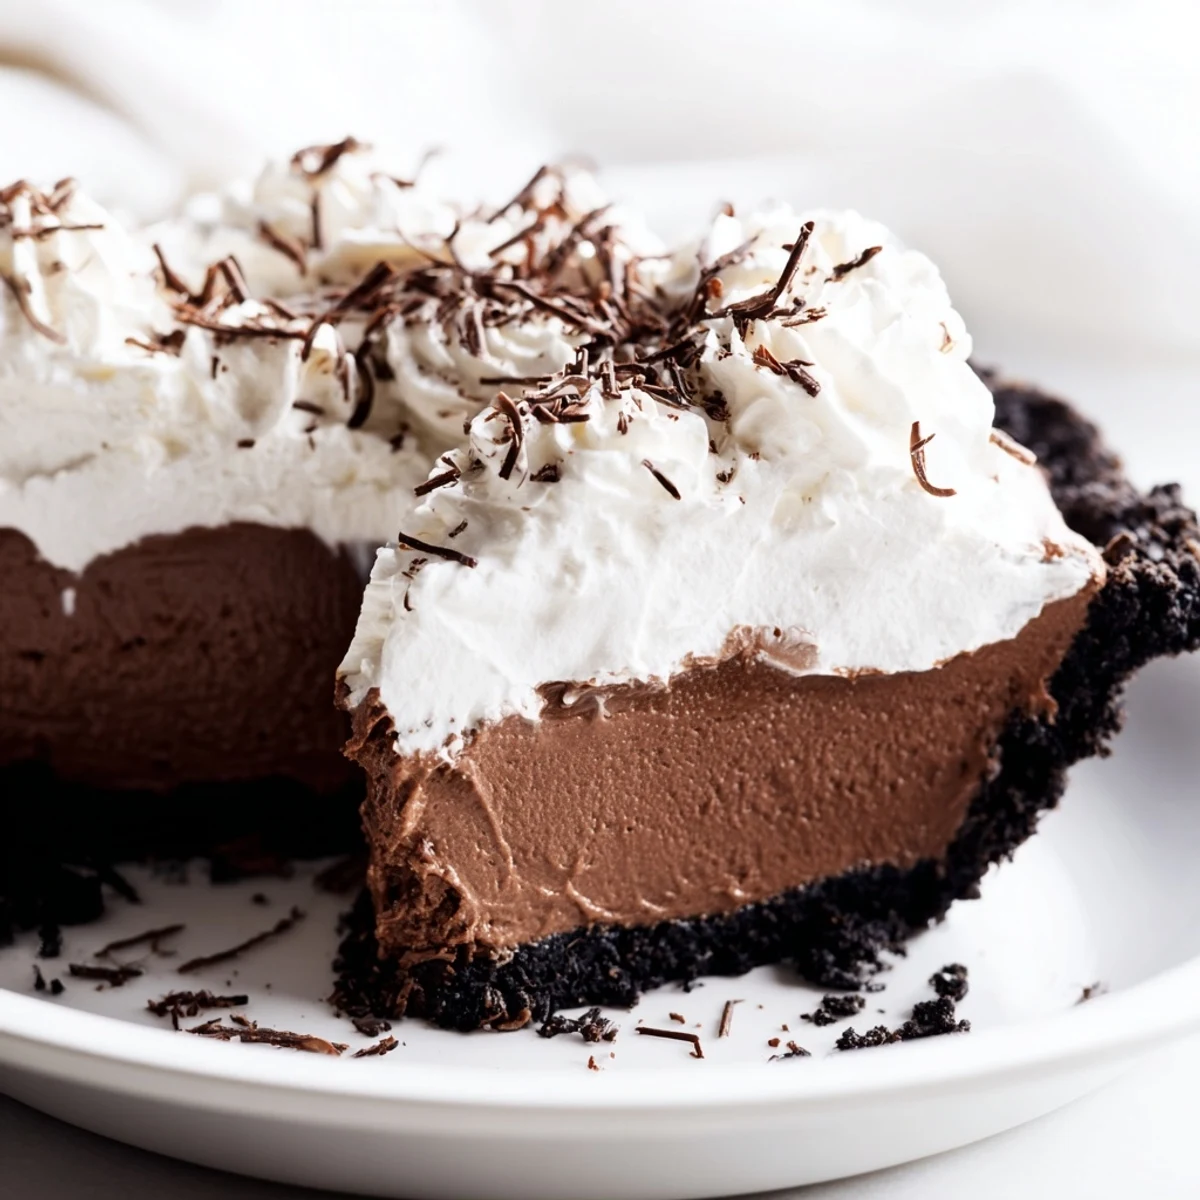
 This dessert features a crisp chocolate cookie crust filled with silky, whipped chocolate filling made from bittersweet chocolate, butter, sugar, and eggs. Once chilled to perfection, it's crowned with fresh vanilla-scented whipped cream. The layers balance rich, creamy textures with a crunchy shell, offering a decadent finish. Optional chocolate shavings add an elegant touch. Ideal for those craving a smooth, luscious chocolate sensation.
The first time I made chocolate silk pie, I stood in my tiny apartment kitchen beating eggs for what felt like an eternity. My arm actually cramped. But when that first slice came out silkier than anything I'd ever tasted, I understood why some desserts earn their reputation. Now it's the pie my sister requests for every birthday, no matter what else is on the menu.
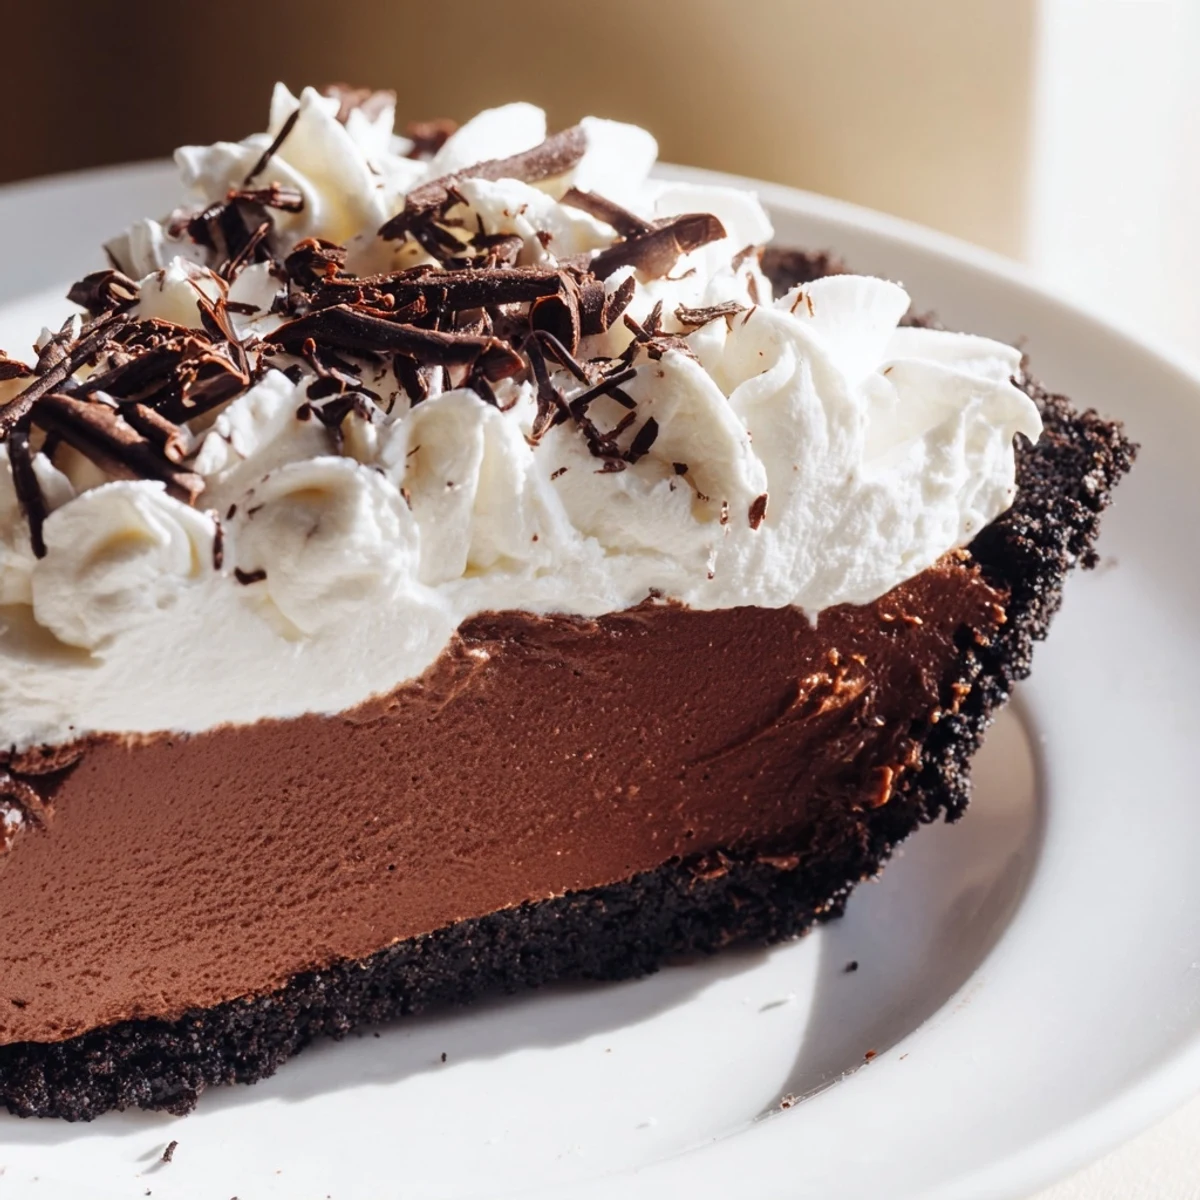
I served this at a dinner party last spring and watched my friend literally close her eyes after the first bite. Something about that combination of crisp chocolate crust and impossibly creamy filling makes people go quiet. It's become my go to when I want to impress without spending three days on pastry techniques.
Ingredients
- 200 g chocolate wafer cookies: These create the most intensely chocolate crust possible and crushing them is strangely therapeutic
- 60 g unsalted butter melted: Bind everything together and let it cool slightly before mixing so it doesnt turn your cookies into mush
- 2 tbsp granulated sugar: A little sweetness in the crust balances the dark chocolate filling beautifully
- 170 g bittersweet chocolate: Choose something youd eat straight from the bar because that flavor really shines through
- 115 g unsalted butter room temperature: This needs to be properly soft not just slightly warmed or your filling will never reach that silky consistency
- 150 g granulated sugar: Creates that melt in your mouth texture we're chasing
- 1 tsp pure vanilla extract: Don't skip this it somehow makes chocolate taste more chocolatey
- 3 large eggs room temperature: These do the heavy lifting for structure so let them sit out first for proper incorporation
- 240 ml heavy cream cold: Cold cream whips up faster and holds its shape longer
- 2 tbsp powdered sugar: Sweetens and stabilizes the whipped cream without any grainy texture
- 1 tsp pure vanilla extract: The same warmth in the cream ties everything together
- Chocolate shavings or curls: Completely optional but makes everything feel fancy
Instructions
- Build your chocolate foundation:
- Preheat that oven to 175°C and crush those chocolate cookies until theyre practically sand. Toss with melted butter and sugar then press into your pie dish with such determination that nothing can dislodge it. Bake for 10 minutes and let it cool completely even if you're impatient.
- Melt the chocolate properly:
- Either use a double boiler like a patient person or zap it in the microwave in 30 second bursts stirring each time. Set it aside to cool but not harden because hot chocolate scrambling eggs is nobody's idea of a good time.
- Create the magic base:
- Beat that room temperature butter and sugar together for a solid 4 minutes until it's pale and fluffy. Add vanilla and that perfectly cooled melted chocolate and mix until you want to eat it with a spoon.
- The arm workout part:
- Add eggs one at a time beating each for 3 to 5 minutes on medium high speed. This isn't optional the air you incorporate here is what makes silk pie actually silky. You'll think it's too much mixing it's not.
- Let it rest:
- Pour that gorgeous mixture into your cooled crust and smooth the top. Refrigerate for at least 4 hours or overnight if you have that kind of self control.
- Make the clouds:
- Whip cold cream with powdered sugar and vanilla until soft peaks form. Spread it generously over your completely set pie.
- Finish with flair:
- Add chocolate shavings if you're feeling fancy then slice with a hot knife for those picture perfect edges.
 Pin Recipe
 This recipe taught me that sometimes the most luxurious desserts require nothing more than patience and a good mixer. My grandmother would've loved how something so simple can make people feel so spoiled.
Making It Yours
Swap the chocolate cookies for graham crackers if you want something less intense or use Oreos for double chocolate impact. A pinch of espresso powder in the filling makes chocolate taste even deeper without tasting like coffee.
Timing Is Everything
Make this pie up to two days ahead but only add whipped cream the day you serve it. The crust stays perfectly crisp and the filling actually improves with a little rest in the fridge.
Serving Suggestions
This pie is rich enough that thin slices feel generous and everyone will go back for seconds anyway. A cup of black coffee or a glass of cold milk cuts through the intensity beautifully.
- Run your knife under hot water between slices for restaurant quality edges
- Let refrigerated pie sit 10 minutes before serving for the ideal texture
- Store leftovers covered but eat within 3 days or the crust starts softening
 Pin Recipe
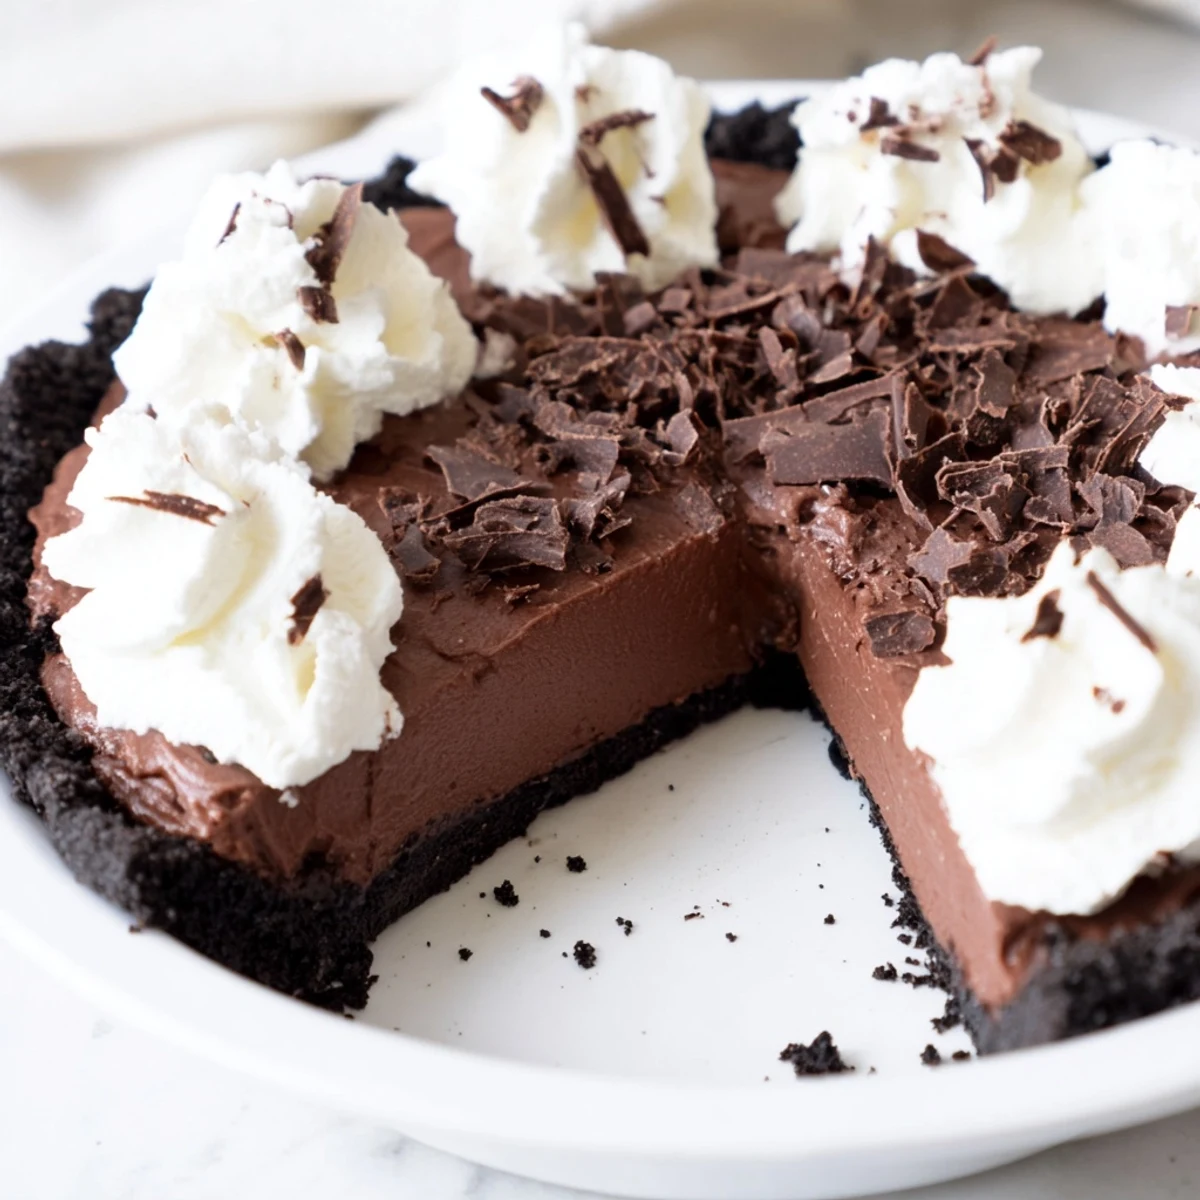
 Every time I serve this pie someone asks for the recipe which might be the highest compliment a dessert can receive. Watch people go silent after that first bite and you'll understand why chocolate silk pie earned its name.
Recipe FAQs
- → How is the chocolate filling made silky and smooth?
-
The filling is made by melting bittersweet chocolate and blending it with butter and sugar, then whipping in eggs thoroughly to achieve a light, airy texture.
- → What type of crust is used for this dessert?
-
A crisp cookie crust made by combining finely crushed chocolate wafer cookies with melted butter and sugar, then baked briefly until set.
- → How long should the chocolate filling chill before serving?
-
It needs to chill for at least 4 hours in the refrigerator to fully set and develop its silky texture.
- → What is the best way to whip the cream topping?
-
Use cold heavy cream, powdered sugar, and vanilla, whipping in a chilled bowl until soft peaks form for a light, fluffy topping.
- → Can garnishes be added to enhance the dessert?
-
Yes, chocolate shavings or curls provide a decorative and flavorful accent that complements the creamy layers.
