 Pin Recipe
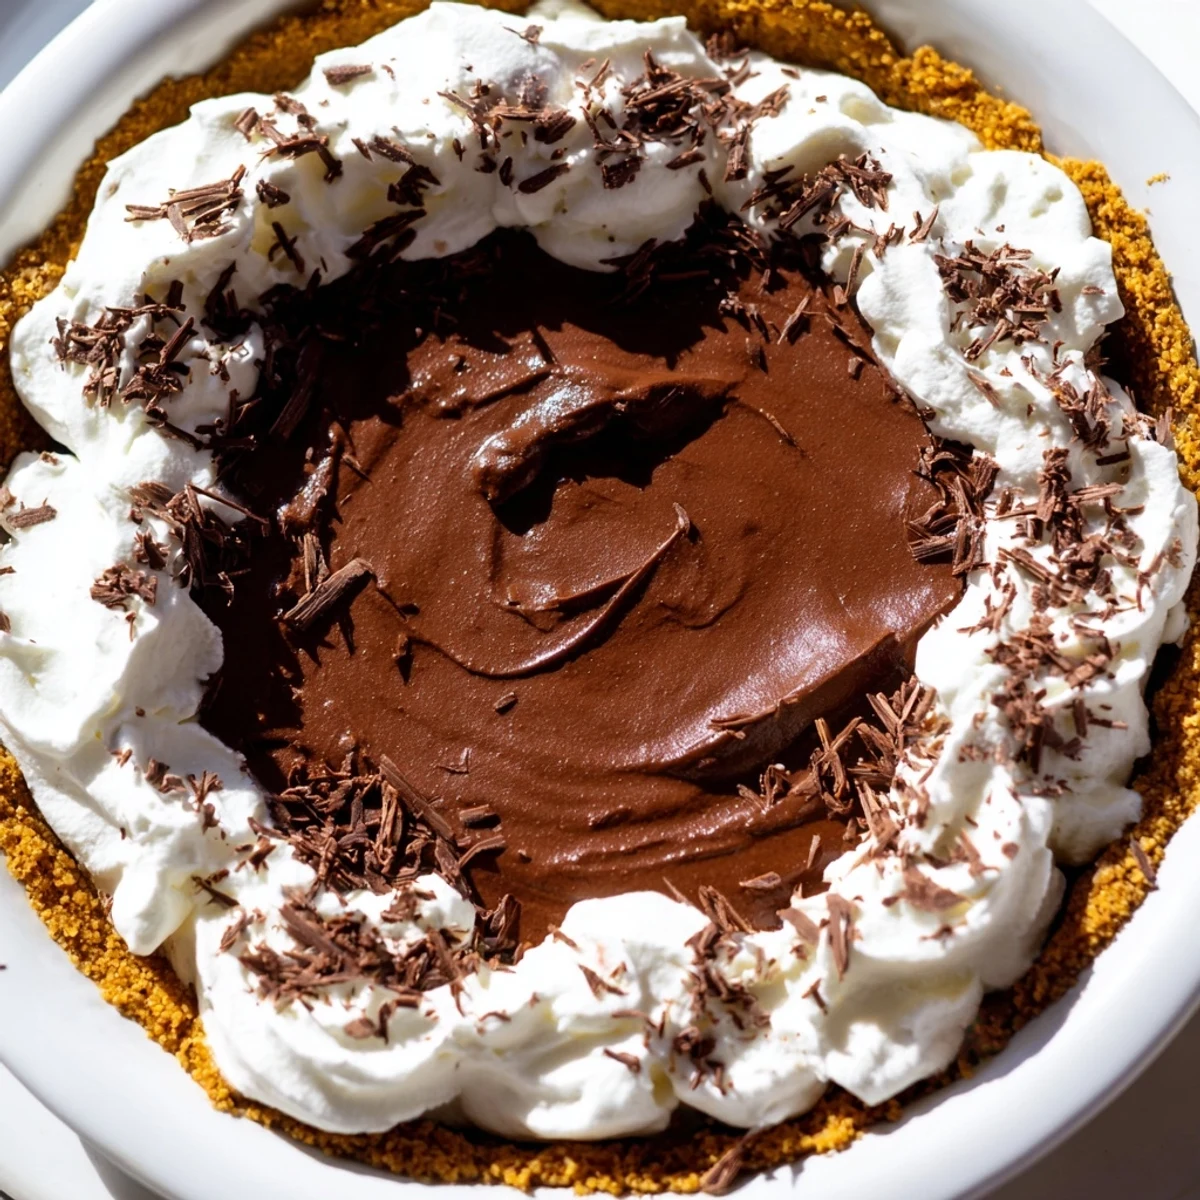
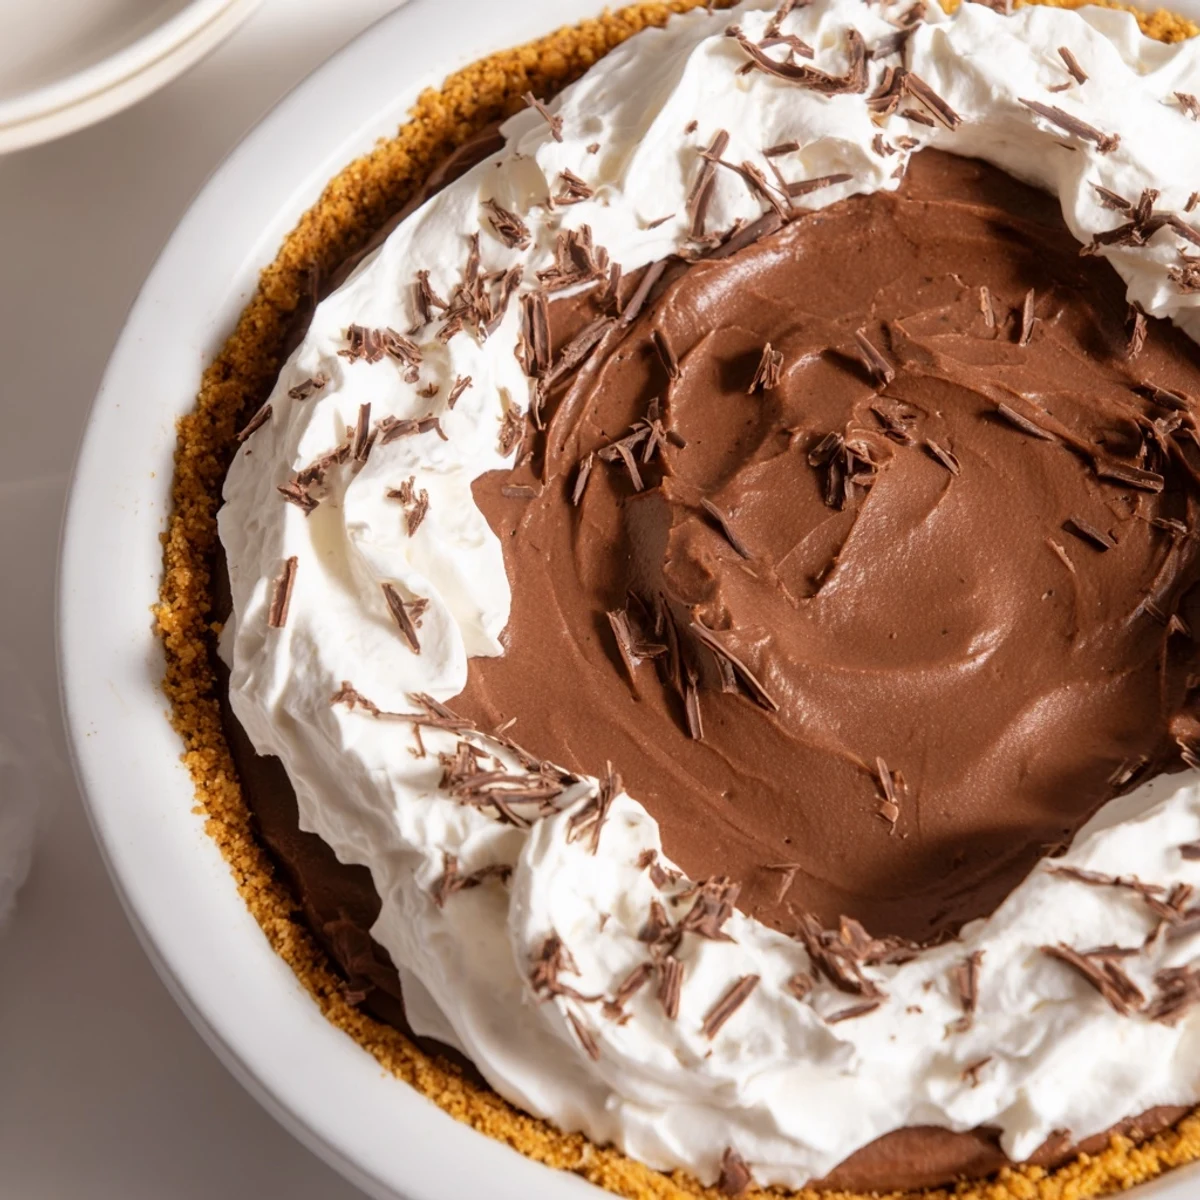
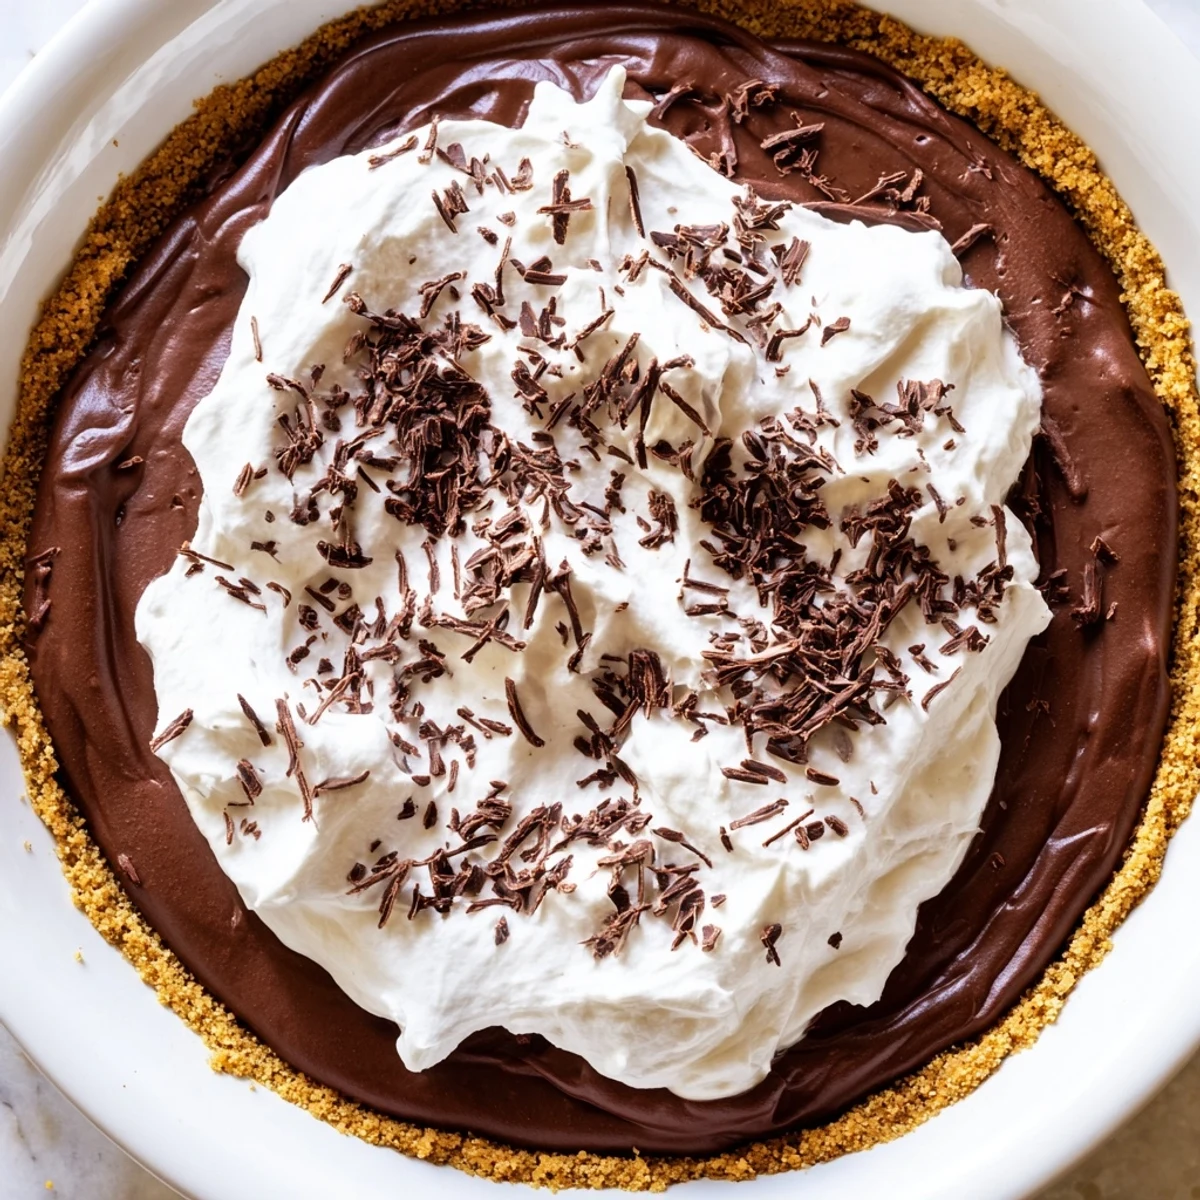
 This chocolate silk features a luscious, smooth filling crafted from melted semisweet chocolate blended with butter, sugar, eggs, and vanilla. A buttery graham cracker or chocolate cookie crust provides a crisp base, while the chilled dessert sets to a mousse-like texture. Lightly whipped cream sweetened with powdered sugar and vanilla crowns the pie, adding airy softness. Perfectly balanced rich chocolate and creamy elements make this dessert ideal for special occasions or indulgent moments, offering ease in preparation and impressive results.
The first time I made this chocolate silk pie was for my dad's birthday. He is not a dessert person, but chocolate silk pie was his absolute favorite. I spent the entire day in the kitchen, determined to get that silky texture just right. When he took that first bite and closed his eyes in pure chocolate bliss, I knew all the effort had been worth it.
I made this again last Thanksgiving for a potluck with friends. My friend Sarah, who claims she is too full for dessert every year, went back for a second slice. She said this pie ruined her for all other chocolate desserts. I take that as the highest compliment possible.
Ingredients
- Graham cracker or chocolate cookie crumbs: The foundation of the whole pie, I prefer chocolate cookie crumbs for an extra deep chocolate flavor
- Unsalted butter: Room temperature is crucial here for the filling, melted for the crust
- Semisweet or bittersweet chocolate: Use the best quality you can find, it really shines through
- Powdered sugar: Sifting is annoying but necessary to prevent any grainy texture
- Pasteurized eggs: Essential since they are not cooked in this recipe
- Vanilla extract: Do not skip this, it rounds out the chocolate flavor beautifully
- Fine sea salt: Just a tiny pinch makes the chocolate taste more intense
- Heavy whipping cream: Cold cream whips up better and holds its shape longer
Instructions
- Prepare your foundation:
- Mix the crumbs with sugar, stir in melted butter until everything is evenly coated, then press firmly into your pie dish. Pop it in the freezer for 15 minutes to set before baking at 350°F for 10 minutes. Let it cool completely before adding the filling.
- Melt your chocolate:
- Set a heatproof bowl over barely simmering water and stir the chocolate until melted and smooth. Remove from heat and let it cool to room temperature, otherwise it will melt the butter when you combine them.
- Make the magic base:
- Beat the butter and powdered sugar together until light and fluffy, about 2 to 3 minutes with an electric mixer. This step is what gives the pie its dreamy texture.
- Combine everything:
- Add the cooled chocolate and vanilla to the butter mixture, beating until completely combined. Add the eggs one at a time, beating 3 to 5 minutes after each addition.
- Chill completely:
- Spread the filling into your cooled crust and refrigerate for at least 4 hours. The filling needs this time to set properly, so do not rush it.
- Top with clouds:
- Whip the cold cream with powdered sugar and vanilla until soft peaks form. Spread or pipe over the chilled pie and garnish with chocolate shavings if you are feeling fancy.
 Pin Recipe
 This pie has become my go-to for special occasions. Last summer I made it for a dinner party on the patio. The warm evening breeze, good wine, and this chocolate pie made for the perfect ending to a lovely night with friends.
Making The Perfect Crust
I have learned that pressing the crumb mixture firmly into the pie dish with the bottom of a measuring cup gives you the most even crust. Do not be afraid to use some pressure here, you want it to hold together when you slice the pie. A good crust is the difference between a great pie and a memorable one.
Getting That Silky Texture
The secret is in the beating time. After each egg, beat for at least 3 minutes on medium-high speed. This incorporates air and creates that mousse-like texture. I set a timer because I used to rush this step and the difference is noticeable. Patience really pays off here.
Serving And Storage
This pie needs to be served chilled for the best texture and flavor. I like to take it out of the refrigerator about 10 minutes before serving to take the extreme chill off. Leftovers keep well in the refrigerator for up to 3 days, though in my house it never lasts that long.
- Use a hot knife for clean slices, dip it in hot water and wipe dry between cuts
- Let the pie sit at room temperature for just a few minutes before serving
- The flavor actually develops more after a day in the refrigerator
 Pin Recipe
 There is something deeply satisfying about serving a dessert that looks impressive but comes together with straightforward techniques. This chocolate silk pie never fails to make people happy.
Recipe FAQs
- → How do I achieve the silky texture in the filling?
-
Beating the eggs well with the chocolate mixture creates a light and mousse-like consistency essential for the silkiness.
- → What crust options work best for this dessert?
-
Use graham cracker or chocolate cookie crumbs mixed with melted butter and sugar for a crunchy, buttery crust.
- → Can I prepare this dessert ahead of time?
-
Yes, chilling it for at least 4 hours or overnight helps the filling set perfectly and enhances the flavors.
- → How is the whipped topping made?
-
Whip cold heavy cream with powdered sugar and vanilla extract until soft peaks form for a light and sweet finish.
- → Are there any recommended garnishes?
-
Chocolate shavings add a decorative touch and extra chocolate flavor when sprinkled over the whipped topping.
- → Can I customize the crust with nuts?
-
Replacing part of the crumbs with finely ground toasted hazelnuts or almonds introduces a nutty flavor and texture.
