 Pin Recipe
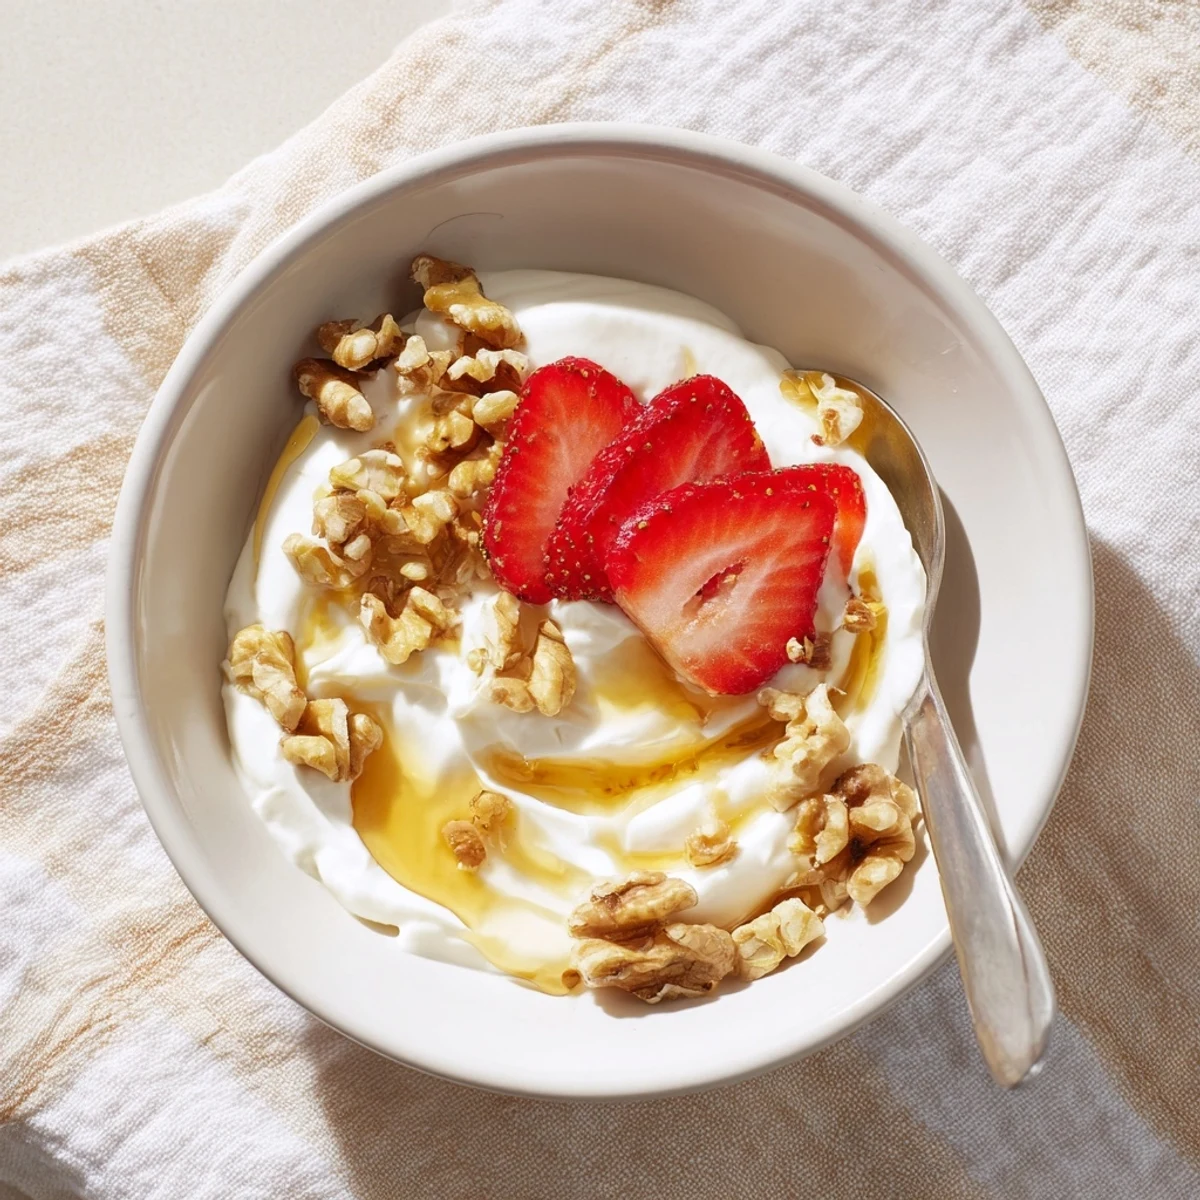
 This homemade Greek yogurt delivers a rich, creamy texture with signature tangy flavor using just whole milk and a yogurt starter with live cultures.
The process involves heating milk to 82°C, cooling to 43°C, adding the starter, and culturing for 6-8 hours. Straining through cheesecloth creates that characteristic thick consistency.
Customize with honey, nuts, or fresh fruit. The strained whey can be reserved for smoothies or baking.
The thermometer hovered at 180 degrees and I wondered if buying yogurt at the store wasnt the smarter choice, but then the smell hit me, that clean milky sweetness that nothing in a plastic tub can replicate. My kitchen turned into a mini science experiment, complete with wrapped towels and a timer I kept checking like a nervous parent. Making yogurt from scratch felt almost rebellious in a world of convenience foods.
My first attempt ended with runny yogurt and a kitchen that smelled faintly of burnt milk because I walked away during heating. The second batch taught me patience, and now there is always a jar sitting in my fridge, ready for lazy morning bowls or late night snacks with a drizzle of honey.
Ingredients
- Whole milk: The higher fat content creates that luxurious texture we associate with Greek yogurt, so skip the skim.
- Plain yogurt with live cultures: This is your starter, and checking the label for active cultures is non negotiable or nothing will happen.
Instructions
- Heat the milk gently:
- Pour the milk into your saucepan and bring it to 82 degrees Celsius, stirring now and then so the bottom does not scorch while you watch for small bubbles around the edges.
- Cool it down:
- Take the pot off the heat and let the temperature drop to 43 degrees Celsius, which takes about 20 minutes and feels like forever when you are eager to keep going.
- Wake up the starter:
- Scoop a little cooled milk into a small bowl and whisk it with your yogurt starter until smooth, which helps prevent weird lumps later.
- Combine everything:
- Pour the thinned starter back into your milk and stir gently, like you are tucking it in rather than whipping it into a frenzy.
- Create a warm cocoon:
- Transfer the mixture to a clean container, cover it, and wrap it in a towel or pop it into a yogurt maker, because warmth is what turns milk into yogurt.
- Let it work its magic:
- Leave the container undisturbed in a warm spot for 6 to 8 hours, and resist every urge to peek or jiggle it while the cultures do their thing.
- Strain for thickness:
- Line a strainer with cheesecloth, set it over a bowl, pour in your yogurt, and refrigerate for 1 to 2 hours until it reaches that signature Greek yogurt consistency.
- Store and enjoy:
- Scoop the thickened yogurt into a clean container and keep it refrigerated, where it will wait patiently for your morning routine.
 Pin Recipe
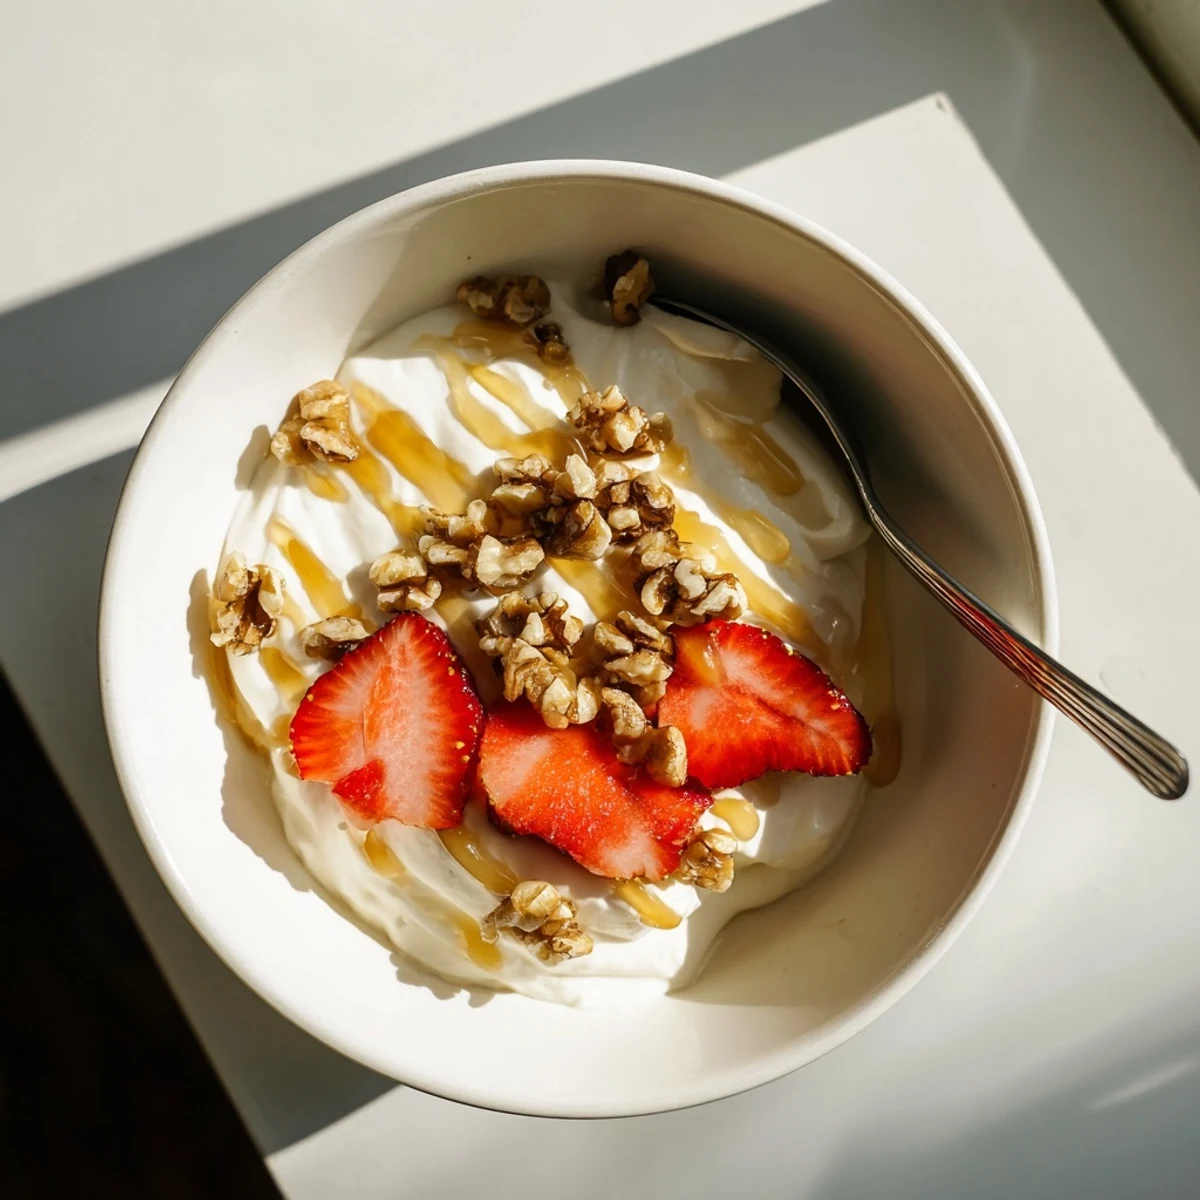
 There is something deeply satisfying about spooning homemade yogurt over warm oatmeal or swirling it into soup, knowing the whole process started with milk and a little patience.
Getting Creative with Flavor
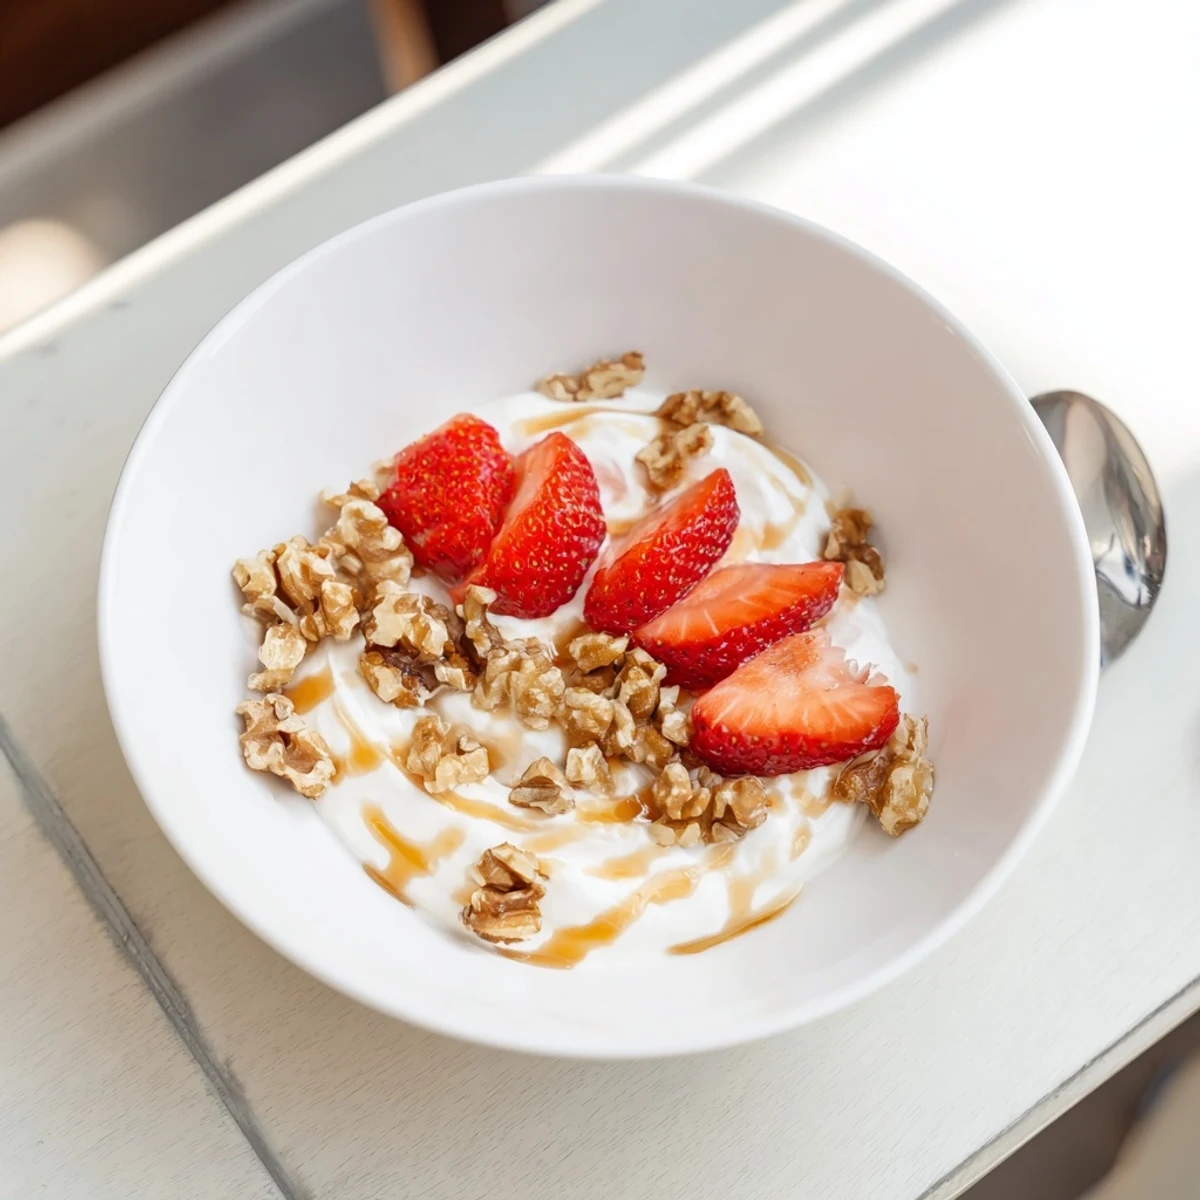
Once you have the basic method down, the fun begins with add ins and toppings. A drizzle of honey and some toasted walnuts turns breakfast into something that feels almost indulgent, while fresh berries make it taste like summer in a bowl.
What About the Whey
That yellowish liquid draining from your cheesecloth is liquid gold, packed with protein and nutrients. Stir it into smoothies, use it in place of water when baking bread, or even drink it straight if you are feeling adventurous.
Troubleshooting Your Batch
Runny yogurt usually means the cultures were not warm enough or got disturbed, while a sour taste indicates it cultured too long. The beauty of this recipe is that even mistakes are usually still edible, just perhaps not Instagram perfect.
- Save a few tablespoons from each batch to start your next one, creating a continuous yogurt cycle.
- If your milk develops a skin while cooling, just skim it off before adding the starter.
- Mark your calendar to remind yourself when the culturing time is up.
 Pin Recipe
 Once you taste homemade Greek yogurt, the store version starts feeling like a compromise you no longer want to make.
Recipe FAQs
- → Why does the milk need to be heated to 82°C before cooling?
-
Heating milk to 82°C (180°F) denatures the proteins, which helps create a thicker, creamier final texture. It also kills any unwanted bacteria that could interfere with fermentation.
- → Can I use low-fat milk instead of whole milk?
-
Yes, but the yogurt will be less creamy and rich. Whole milk produces the thickest, most luxurious texture typical of authentic Greek yogurt.
- → How do I know when the yogurt has finished culturing?
-
The yogurt is ready when it has set to a custard-like consistency and pulls away from the sides of the container when tilted. This typically takes 6-8 hours in a warm environment.
- → Why strain the yogurt through cheesecloth?
-
Straining removes whey, creating the thick, dense texture that distinguishes Greek yogurt from regular yogurt. Longer straining times yield thicker results.
- → What can I do with the leftover whey from straining?
-
The nutrient-rich whey can be added to smoothies, used in baking bread, or consumed as a protein drink. It keeps refrigerated for up to a week.
