 Pin Recipe
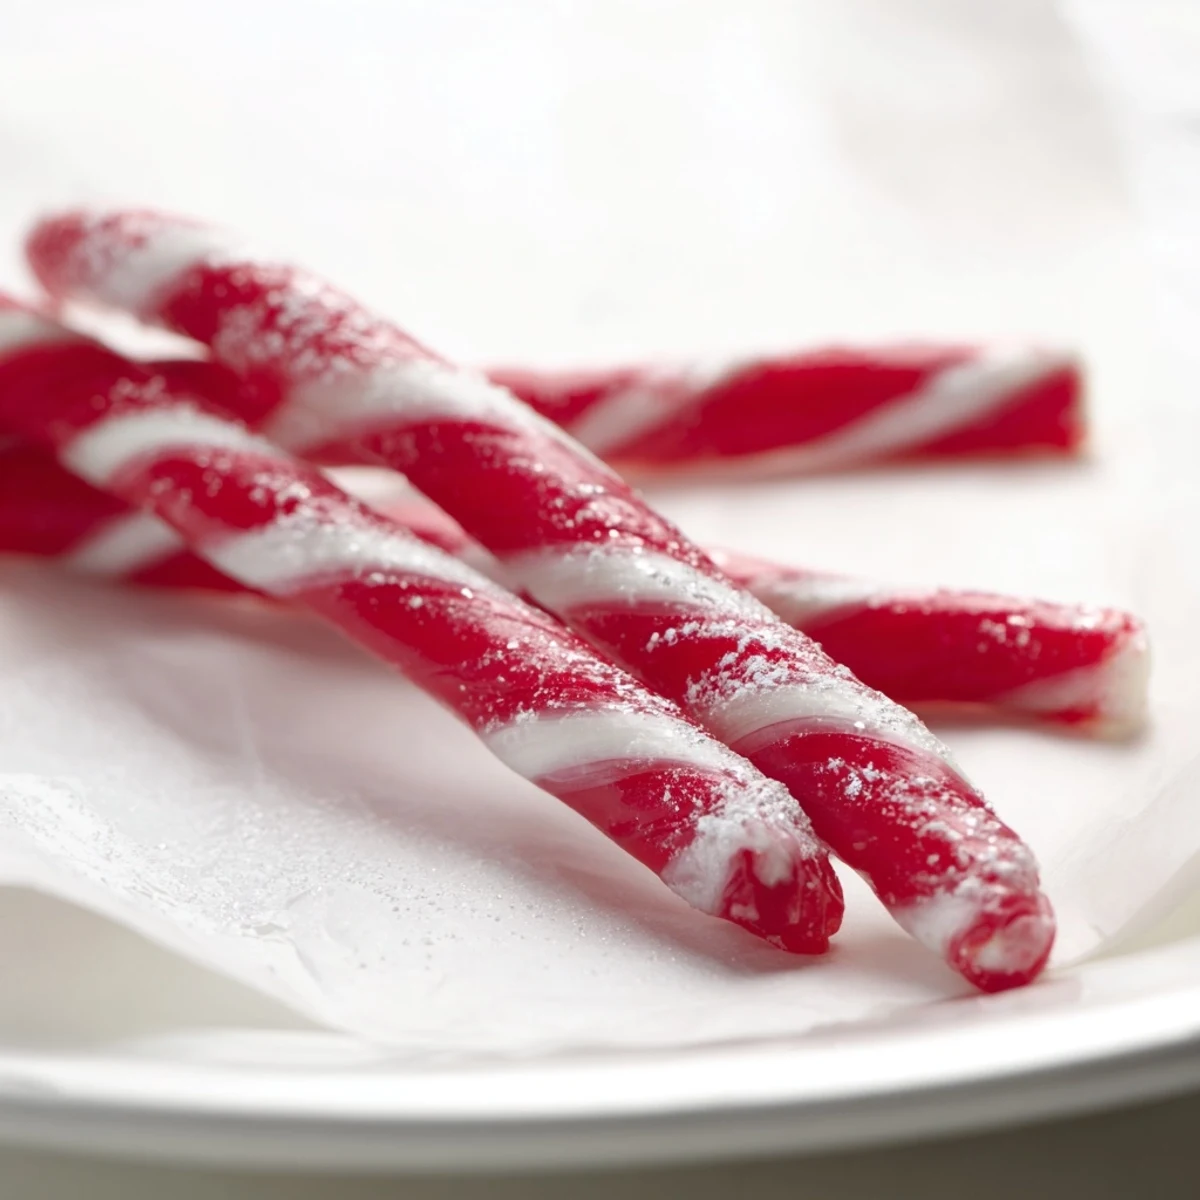
 Discover how to make vibrant, crunchy candy sticks with a classic sweet flavor and nostalgic appeal. Using a sugar syrup base cooked to the hard crack stage, these sticks are flavored and colored to your liking. The process involves careful boiling, mixing in candy oils and colors, then shaping the warm mixture into sticks before letting them cool to harden. The result is a delightful treat perfect for gifting or celebrations, with options for multi-colored variations. Store in airtight containers for freshness.
My grandmother used to make candy sticks in her kitchen every October, lining up mason jars filled with them in flavors I still can't quite name. One afternoon, I watched her roll the molten sugar rope with the kind of casual confidence that comes from doing something a thousand times, and I finally asked if I could try. The heat from the candy was nothing like I expected—it didn't burn, it just demanded respect and speed, which felt like the whole point of the thing.
I made these for my daughter's birthday party and watched her face light up when she bit into one and realized we made them together. The other kids wanted to know if they were from some fancy candy shop, and honestly, that moment of pride was better than any store-bought treat could have offered.
Ingredients
- Granulated sugar (2 cups): This is your foundation, and it needs to be actual granulated sugar—not confectioners or brown. The texture and how it dissolves matters more than you'd think.
- Light corn syrup (2/3 cup): This prevents crystallization and keeps your candy smooth and glassy. Don't skip it or substitute without understanding why it's there.
- Water (1/4 cup): Just enough to get everything moving and help the sugar dissolve evenly at the start.
- Flavored candy oil (1/4 teaspoon): This is the secret—candy oils are concentrated on purpose, and they hold up to heat better than extracts ever will. One drop too much and it'll overpower everything.
- Food coloring (1/2 teaspoon): Use gel or liquid coloring made for candy; it blends in cleaner and the color stays vibrant as the candy cools.
- Powdered sugar (1/4 cup): For dusting your work surface and your hands—it keeps the hot candy from sticking and makes handling it possible.
Instructions
- Set up your stage:
- Line your baking sheet with parchment and dust it lightly with powdered sugar. This isn't just busy work—it's what lets you pour the candy without it grabbing hold of the metal and becoming impossible to shape.
- Combine and stir:
- In your heavy-bottomed saucepan, mix the granulated sugar, corn syrup, and water. Stir until everything comes together and you can't see dry sugar anymore. You'll know you're done when it looks like wet sand.
- Let the heat do the work:
- Place the pan over medium heat and leave it alone. The first time you stir might be tempting—don't. Let the sugar dissolve from the heat, not from constant stirring. You're aiming for clear, not cloudy.
- Watch the thermometer like a hawk:
- Clip your candy thermometer to the side of the pan once the mixture starts boiling. You're looking for 300°F, the hard crack stage, which takes about 10–12 minutes. This temperature is non-negotiable—it's what makes your candy snap, not chew.
- Add color and flavor fast:
- The moment it hits 300°F, pull it off the heat and stir in your candy oil and food coloring. The mixture will bubble up—this is normal and a little startling the first time. Stir quickly but don't overdo it.
- Pour before it sets:
- Working as soon as the bubbling calms, pour the hot syrup onto your prepared sheet in whatever shape feels natural. If it starts to harden at the edges, you're still in the perfect window.
- Shape while it's warm:
- After 5–8 minutes, dust your hands with powdered sugar and start pulling off portions. Roll each piece into a 6-inch rope about 1/2 inch thick, and twist if you're feeling fancy. The candy should be warm enough to be pliable but cool enough that it doesn't burn you.
- Let it harden completely:
- Place each shaped stick on fresh parchment and let it sit for 30–60 minutes. The longer it sits, the harder it gets, so patience here matters.
 Pin Recipe
 My mother tasted one of my early batches and immediately started telling neighbors about them, which meant I suddenly had standing orders. It's strange how something you make with your hands in your own kitchen can become something other people associate with you, but that's exactly what happened here.
Troubleshooting the Tough Moments
If your candy turned out too soft, you didn't reach 300°F. The thermometer might have been sitting in cool syrup or the heat was too low. Next time, trust your thermometer and let it stay at a rolling boil until you hit the mark. If you ended up with something grainy or crystallized, you probably stirred it after the sugar dissolved, which introduces crystals that spread. Stick to the no-stirring rule and you won't have this problem.
Playing with Flavor and Color Combinations
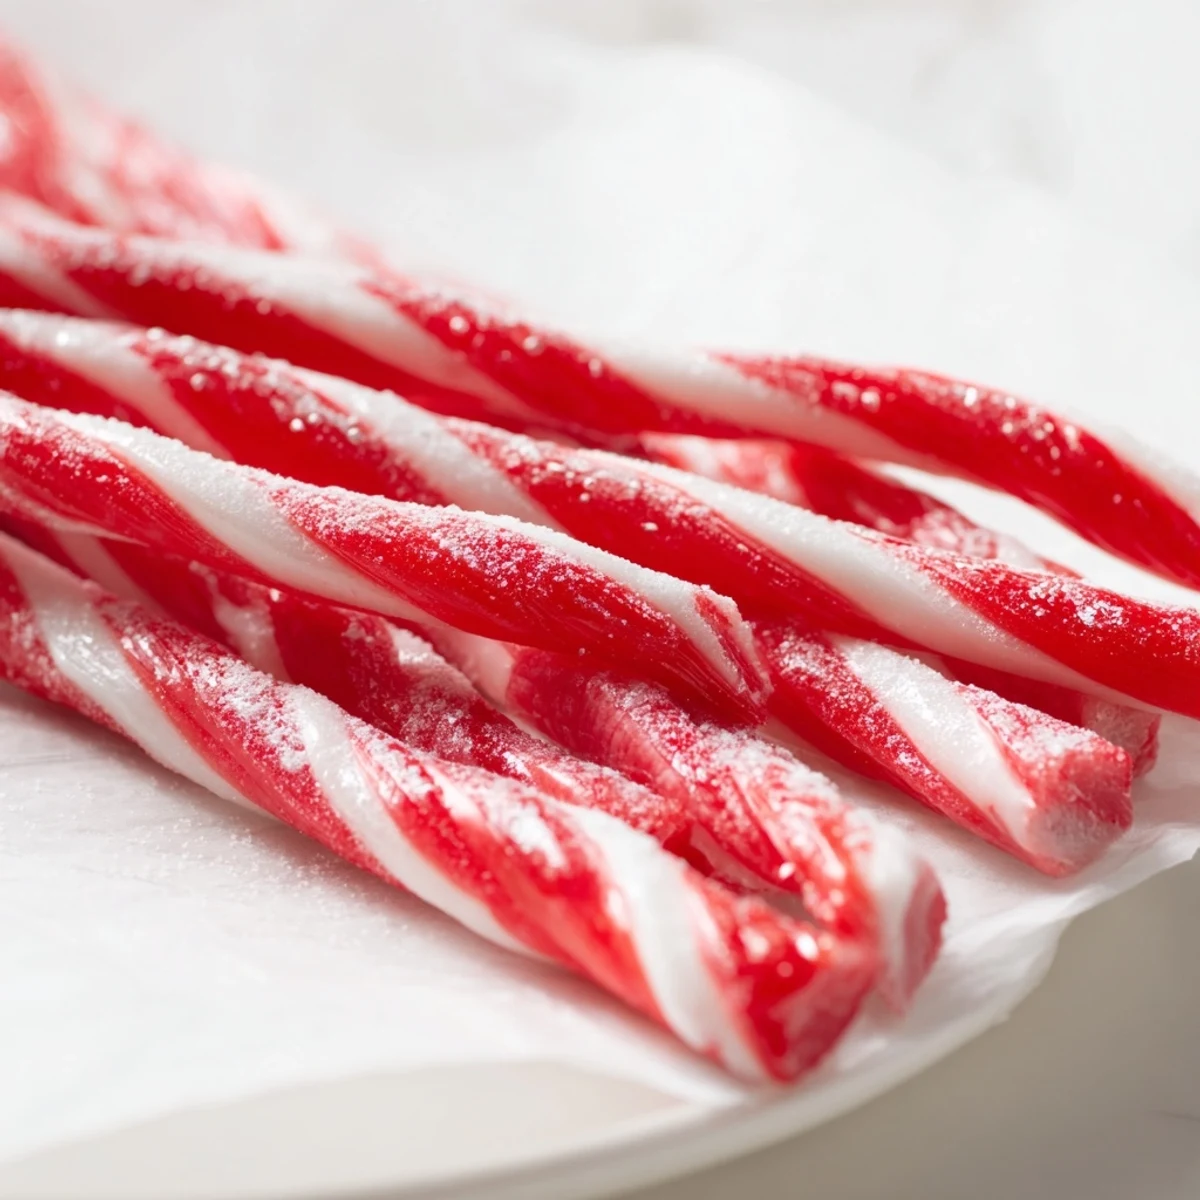
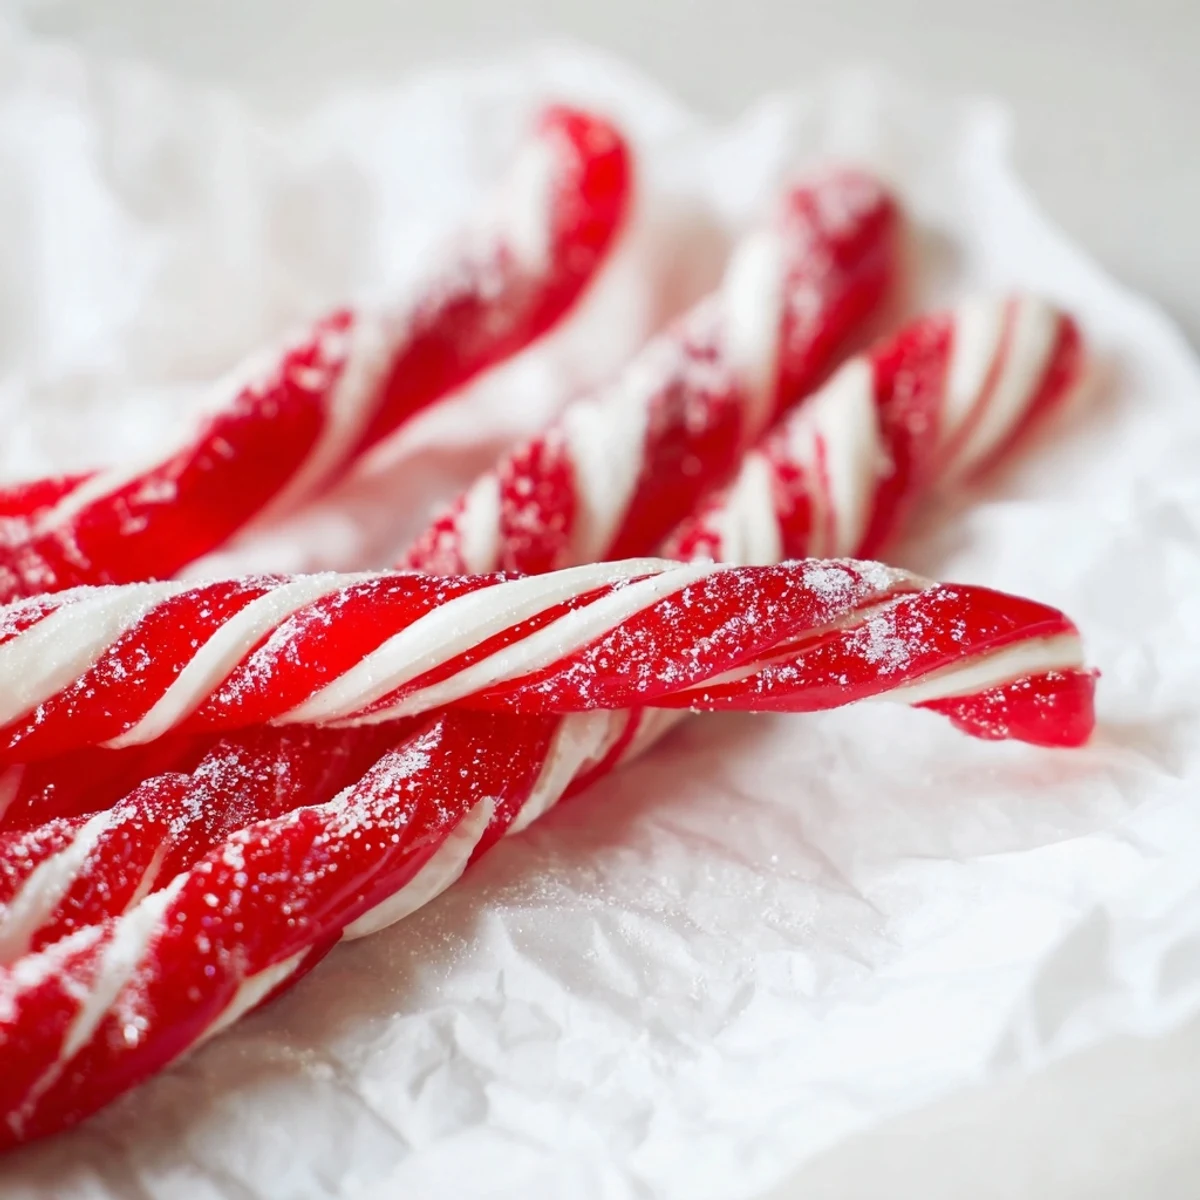
Once you've made a basic batch, the fun part is experimenting. Cherry and cream, lemon and sunshine yellow, peppermint and white with red stripes—each combination tells a different story and tastes completely different. You can divide the candy after adding color and flavor, then shape each portion separately if you want a mixed batch. The beauty of making these yourself is that you're not limited to whatever a factory decided was trendy.
Storing and Gifting Your Creations
Once fully hardened, store your candy sticks in an airtight container at room temperature where they'll keep for up to two weeks. They make phenomenal gifts wrapped individually in wax paper tied with twine—something handmade always feels more personal than store-bought. Stack them in a clean glass jar and suddenly you have a gift that looks like it came from somewhere special.
- Keep them in airtight containers or they'll absorb moisture and start to stick.
- If you live somewhere humid, add a small packet of silica gel to extend their shelf life.
- Wrap them individually if you're gifting—it makes them feel more intentional and they're easier to grab one at a time.
 Pin Recipe
 Making candy sticks is one of those kitchen projects that feels more complicated than it actually is. Once you understand that it's really just about sugar, heat, and timing, you'll make them again and again.
Recipe FAQs
- → What temperature should the sugar syrup reach?
-
The sugar syrup should be heated to 300°F (150°C), which is the hard crack stage, essential for achieving a crunchy texture.
- → Can I use different flavors in one batch?
-
Yes, you can divide the syrup after boiling and add different flavored candy oils and colors before shaping for multi-flavored sticks.
- → How do I prevent candy from sticking to hands while shaping?
-
Lightly dust your hands with powdered sugar to reduce stickiness when pulling and rolling the candy into sticks.
- → What tools are needed to make these candy sticks?
-
A heavy-bottomed saucepan, candy thermometer, baking sheet, parchment paper, and optionally kitchen gloves are recommended for handling the hot syrup safely.
- → How long do candy sticks last once made?
-
Stored in an airtight container at room temperature, the candy sticks remain fresh for up to two weeks.
