 Pin Recipe
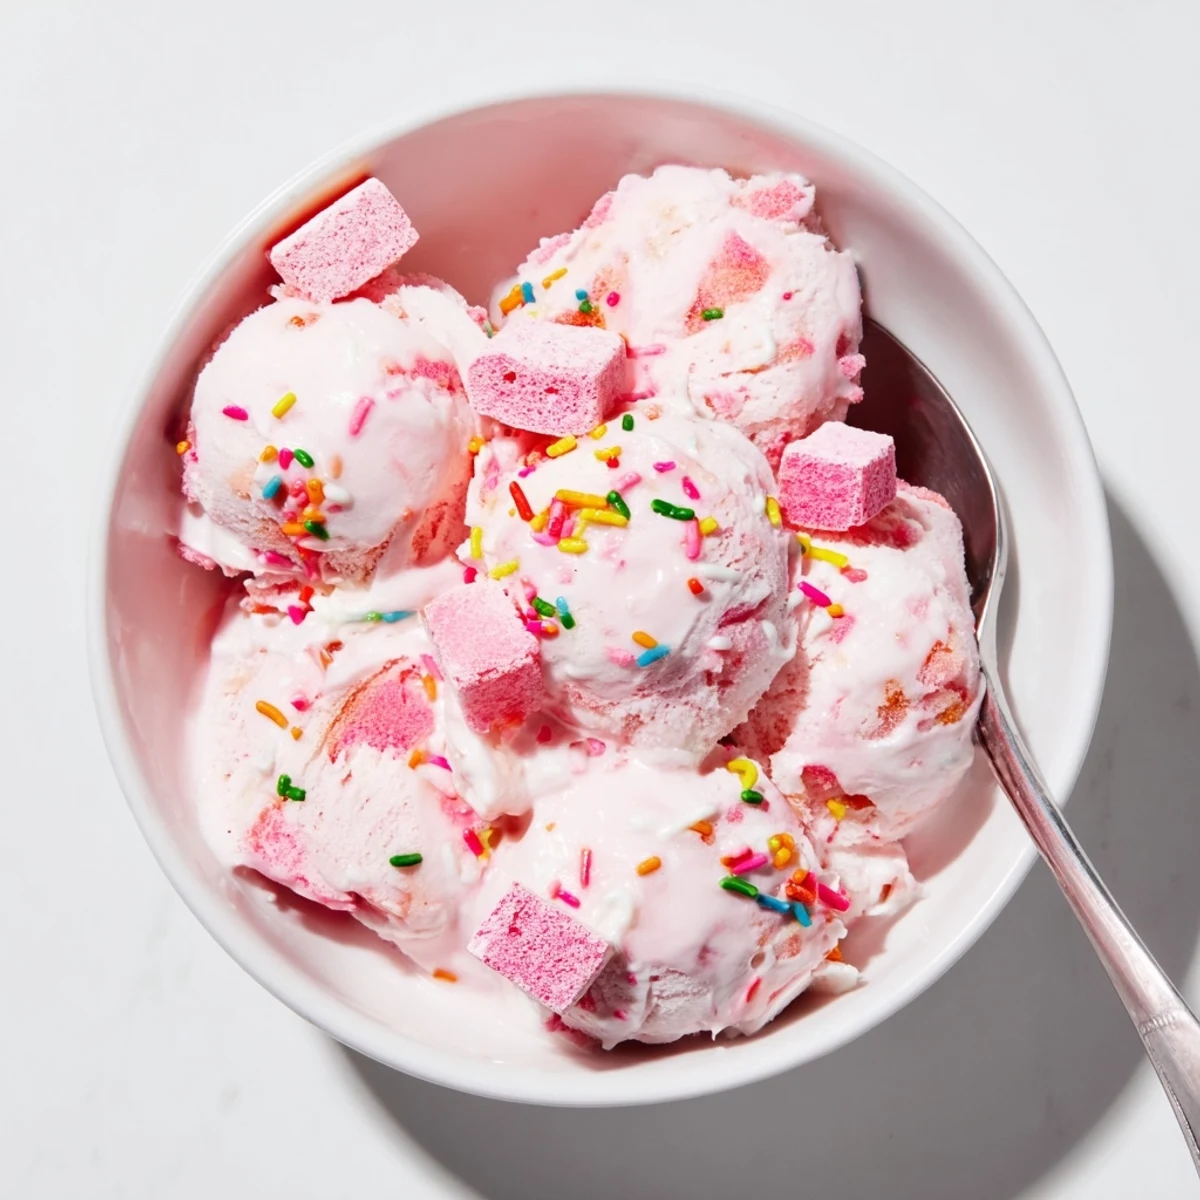
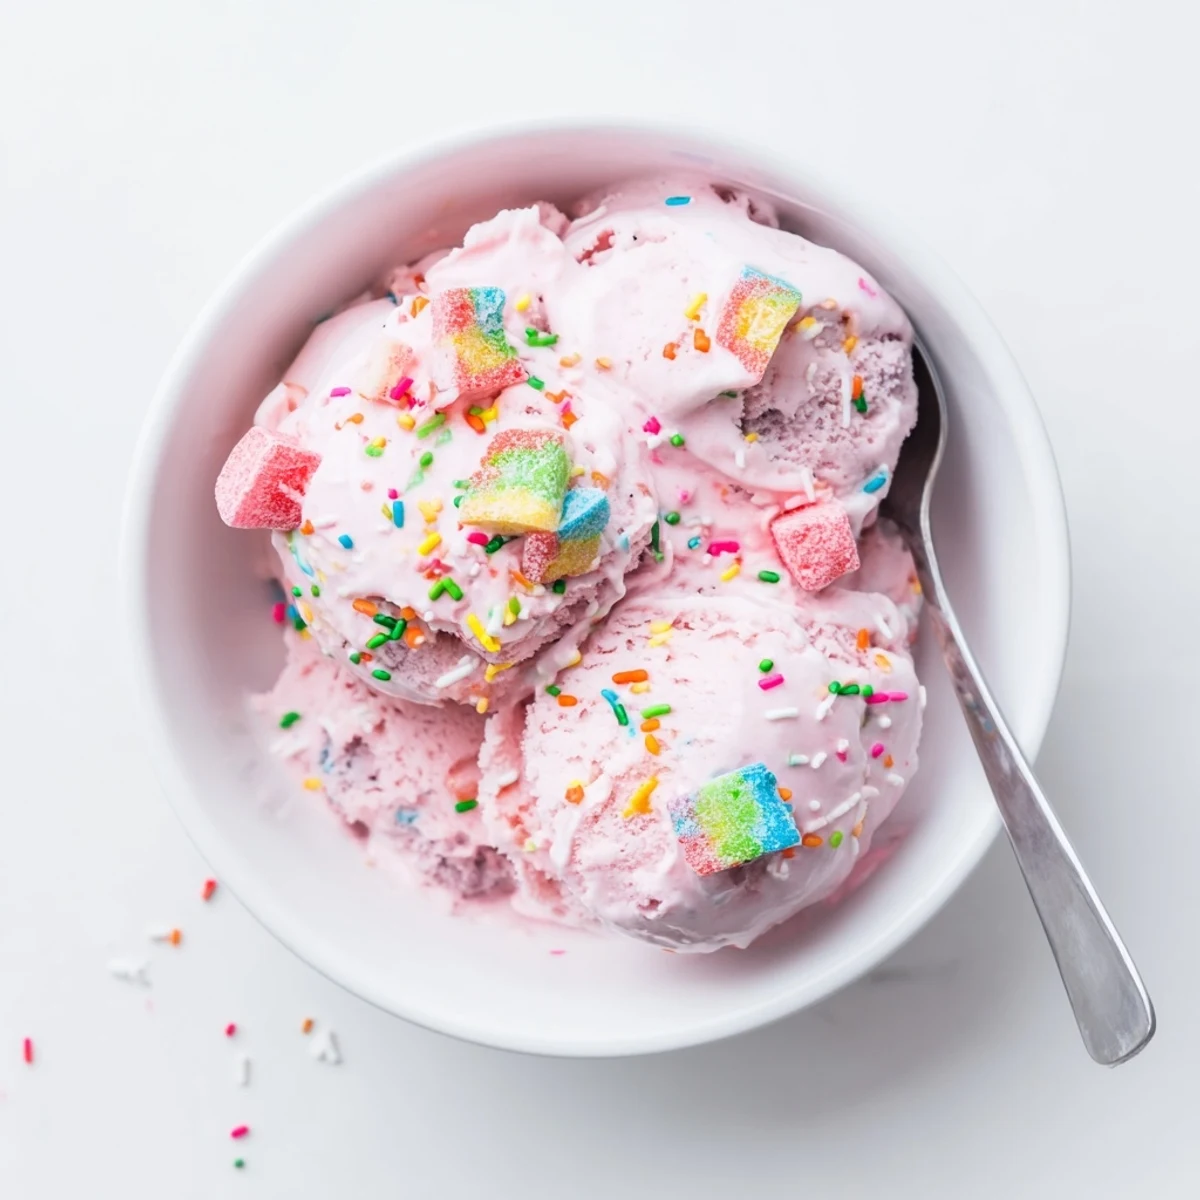
 Create a fun and nostalgic frozen dessert that brings back childhood memories. This no-churn method eliminates the need for an ice cream maker, relying on whipped heavy cream and sweetened condensed milk for an incredibly creamy texture. The bubblegum flavoring combined with vibrant pink or blue food coloring creates an eye-catching treat that kids and adults will love. Simply whip, fold, freeze, and enjoy this customizable dessert with endless mix-in possibilities.
The moment I opened that container and saw the bright pink swirl, my kitchen suddenly smelled like every ice cream shop visit from childhood. My daughter actually asked if we could somehow bottle that scent. This recipe captures that whimsical bubblegum magic without needing an ice cream maker.
Last summer, I made three batches for my nieces birthday party and watched the grownups get just as excited as the children. My brother admitted he ate it straight from the container at midnight. Theres something about bubblegum ice cream that makes everyone feel like a kid again.
Ingredients
- Heavy Whipping Cream: This creates the velvety base structure and must be very cold to whip properly into those essential stiff peaks
- Sweetened Condensed Milk: The secret to no churn ice cream, providing sweetness and preventing ice crystals from forming during freezing
- Bubblegum Flavoring: Concentrated flavoring delivers that classic bubblegum taste without any artificial aftertaste
- Gel Food Coloring: Creates those gorgeous pink or blue hues that make this ice cream instantly recognizable and fun
- Bubblegum Candies: Chopped pieces add chewy texture and bursts of additional flavor throughout each scoop
Instructions
- Whip the cream:
- Pour the cold heavy cream into a large mixing bowl and beat with an electric mixer until stiff peaks form and the cream holds its shape firmly when you lift the beaters
- Mix the flavor base:
- In a separate bowl, whisk together the sweetened condensed milk, vanilla extract, bubblegum flavoring, and food coloring until completely smooth and evenly colored
- Combine everything:
- Gently fold the whipped cream into the condensed milk mixture using a spatula, being careful not to deflate all that air you worked so hard to incorporate
- Add the candies:
- Fold in the chopped bubblegum pieces until evenly distributed throughout the mixture
- Freeze until firm:
- Pour the ice cream into a freezer safe container, smooth the top, and freeze for at least 6 hours until completely set
 Pin Recipe
 Now whenever anyone in my family spots that pastel colored container in the freezer, their face lights up instantly. This recipe has turned ordinary Tuesday evenings into mini celebrations.
Making It Your Own
I have discovered that swirling both pink and blue coloring together creates the most beautiful marbled effect that looks stunning in clear containers. You can also adjust the amount of bubblegum candies based on how much texture you prefer in each bite.
Serving Suggestions
This ice cream tastes even better when served in waffle cones or alongside a slice of warm vanilla cake. Letting it sit on the counter for five minutes before scooping makes all the difference for that perfect creamy texture.
Storage And Make Ahead Tips
This ice cream keeps beautifully in the freezer for up to two weeks, though it rarely lasts that long in my house. Pressing a piece of parchment paper directly onto the surface before freezing prevents any ice crystals from forming on top.
- Make the base the night before a party and freeze overnight
- Use an airtight container to prevent freezer burn and absorption of other food odors
- Let your guests add their own sprinkles at serving time for extra fun
 Pin Recipe
 Every scoop brings back memories of boardwalk summers and birthday wishes. This ice cream is pure joy frozen into perfect, shareable moments.
Recipe FAQs
- → Do I need an ice cream maker for this?
-
No, this no-churn method uses whipped cream and sweetened condensed milk to create a creamy texture without any special equipment.
- → Where can I find bubblegum flavoring?
-
Bubblegum flavoring is available at baking supply stores, craft stores, or online. It's typically found in the cake decorating section.
- → How long does it take to freeze completely?
-
The ice cream needs to freeze for at least 6 hours, but overnight is best for the firmest texture.
- → Can I add other mix-ins besides bubblegum candies?
-
Absolutely! Mini marshmallows, white chocolate chips, or crushed graham crackers work wonderfully as additional mix-ins.
- → How should I store leftovers?
-
Keep tightly covered with plastic wrap or a lid in the freezer. It will stay fresh for up to 2 weeks.
