 Pin Recipe
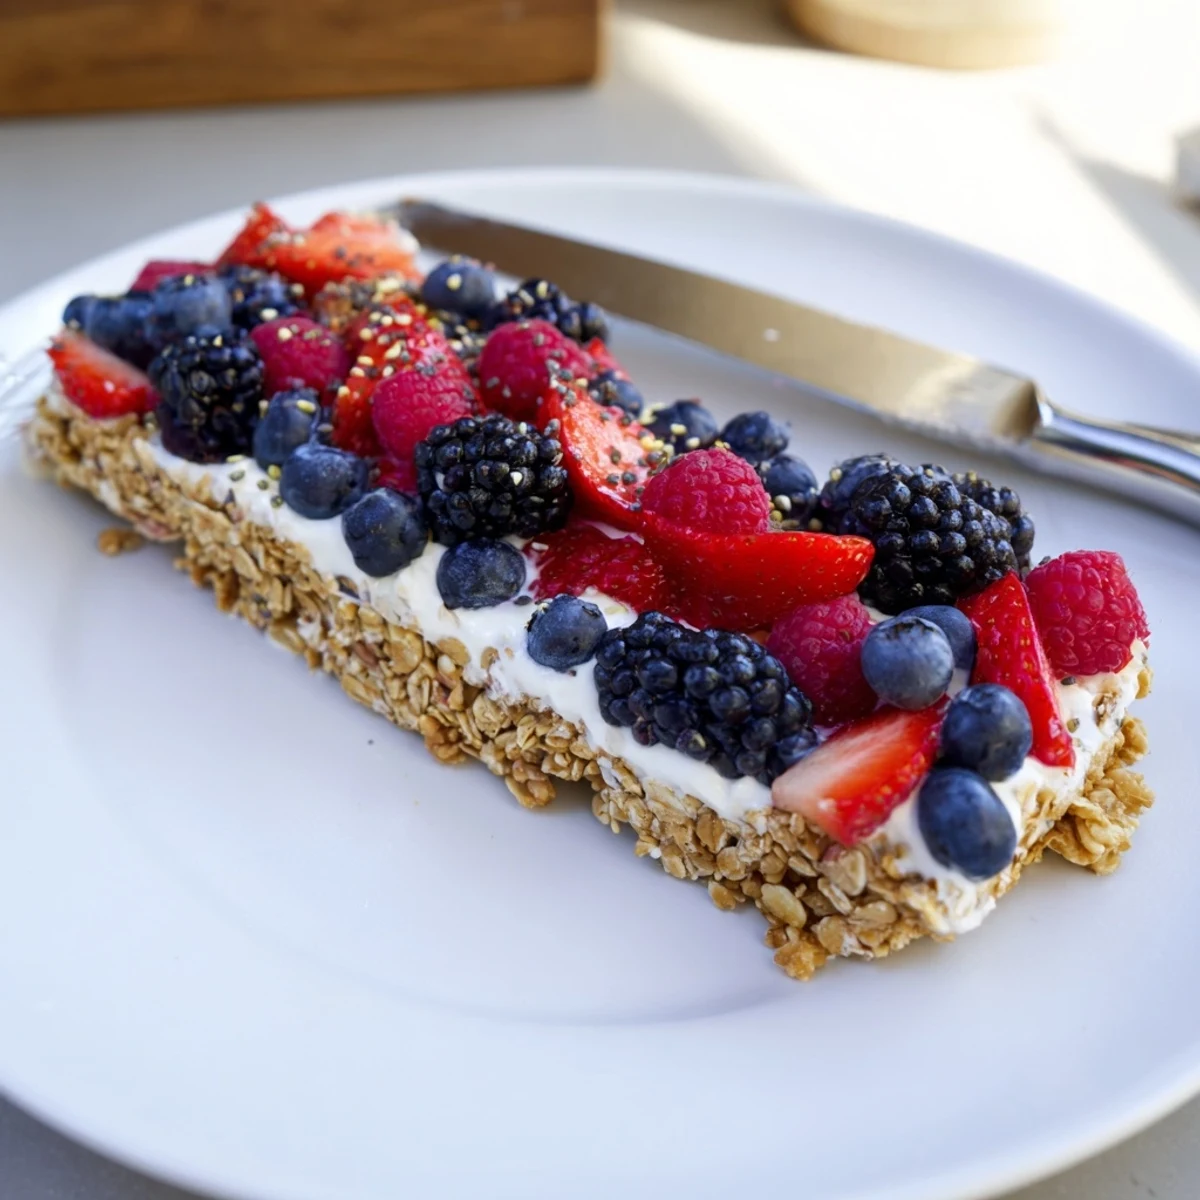
 Whip up these delightful frozen treats by pressing a honey-sweetened granola crust into a pan, spreading a vanilla-infused Greek yogurt layer, and topping with colorful mixed berries. After four hours in the freezer, these bars emerge with perfectly crisp texture and vibrant fruit flavor.
The combination provides protein-packed yogurt, antioxidant-rich berries, and fiber-filled granola in every bite. Customize with your favorite nuts, seeds, or seasonal fruits for endless variations throughout the year.
I stumbled onto these bars during a sweltering July when my kitchen was basically a sauna and turning on the oven felt like a personal defeat. My toddler had just discovered that frozen treats existed in this world, and I needed something faster than popsicles but less sugar-heavy than store-bought ice cream bars. These took about twelve minutes to assemble, and the look on her face when she bit into that first creamy, berry-studded layer was pure summer magic.
Last summer, I made a double batch for a neighborhood potluck, and honestly, watching six kids go completely silent while eating was the only validation I needed. One mom asked for the recipe before she even finished her first bar, texting me from her car before she even got home. Now whenever someone mentions needing something for a school snack or breakfast on the go, this is what I tell them to make.
Ingredients
- 2 cups granola: Choose something with decent clusters so your base holds together beautifully, and go low-sugar since the berries and yogurt add natural sweetness
- 2 tbsp honey or maple syrup: This binds the granola into a solid foundation that wont crumble when you slice
- 2 tbsp melted coconut oil: Works as the glue that keeps everything firm once frozen
- 2 cups plain Greek yogurt: Full-fat creates the creamiest texture, but whatever you have in the fridge will work
- 2-3 tbsp honey or agave syrup: Taste your yogurt first and adjust accordingly
- 1 tsp pure vanilla extract: Do not skip this, it makes everything taste like a proper dessert
- 1 cup mixed fresh berries: Whatever looks good at the store, though I love the color explosion from blueberries, raspberries, and strawberries together
- 1 tbsp chia seeds: Optional, but they add this tiny crunch that makes each bite more interesting
Instructions
- Prepare your pan like you actually mean it:
- Line an 8x8-inch baking dish with parchment paper, letting the edges hang over the sides like a little sling because you will thank yourself later when lifting out the frozen slab.
- Make the granola foundation:
- Mix your granola with honey and melted coconut oil until everything feels evenly coated, then press it into the bottom of your prepared pan with surprising force, like you are tamping down espresso grounds.
- Whisk the creamy layer:
- Combine the Greek yogurt with your sweetener and vanilla until it is completely smooth and tastes like something you would happily eat with a spoon right now.
- Spread the yogurt:
- Pour the yogurt mixture over your granola base and spread it gently so you do not disturb the crust underneath, taking it all the way to the edges.
- Scatter the berries:
- Press your fresh berries lightly into the yogurt layer so they stay put, then sprinkle chia seeds across the top if you are feeling fancy.
- Freeze until firm:
- Slide the pan into the freezer for at least four hours, though overnight is even better if you can plan that far ahead.
- Slice and serve:
- Use your parchment sling to lift the whole slab onto a cutting board, let it soften for about five minutes so it is not rock-hard, then cut into bars with a sharp knife.
 Pin Recipe
 My friend Sarah keeps a stash in her freezer for those moments when her kids come home absolutely starving, and she says it has saved her from approximately three thousand after-school meltdowns. Something about the combination of sweet, creamy, and crunchy hits every single craving at once, and I have yet to meet anyone who does not immediately ask for seconds.
Making These Your Own
Once you get the basic ratio down, the variations are basically endless. I have swapped in coconut yogurt and tropical fruit, used almond butter mixed into the yogurt layer for extra protein, and even added a drizzle of melted dark chocolate across the top before freezing. Last week I stirred some lemon curd into the yogurt and it was honestly life-changing.
Storage Strategy
These bars need to stay frozen in an airtight container, layered between pieces of parchment paper so they do not fuse into one giant block. I wrap individual bars in parchment and toss them into a freezer bag for grab-and-go breakfasts or post-workout snacks. They are perfect for those mornings when you need something but cannot deal with actual cooking.
Texture Secrets
The difference between just okay and absolutely incredible comes down to how you handle each layer. Take your time pressing the granola base, make sure your yogurt is completely smooth before spreading, and do not skimp on the vanilla. I learned this the hard way after rushing through a batch and ending up with crumbly, uneven bars that still tasted good but fell apart everywhere.
- Let the bars soften for exactly five minutes before slicing, not longer
- Run your knife under hot water between cuts for cleaner edges
- If your granola is already sweet, reduce the honey in the base
 Pin Recipe
 There is something deeply satisfying about opening the freezer and seeing these lined up, ready for whatever summer throws your way. They are the kind of simple, beautiful food that makes you feel like you have your life together, even when you absolutely do not.
Recipe FAQs
- → How long do these bars need to freeze?
-
Freeze for at least 4 hours until completely firm before slicing. For best results, leave them overnight to ensure the yogurt layer sets properly and bars hold their shape when cut.
- → Can I use regular yogurt instead of Greek yogurt?
-
Greek yogurt works best due to its thicker, creamier consistency that holds up well when frozen. Regular yogurt contains more water and may result in icy, less firm bars. If using regular yogurt, consider straining it first through cheesecloth to remove excess liquid.
- → How should I store these bars?
-
Keep bars stored in an airtight container in the freezer. They will maintain optimal texture for up to 2-3 months. Serve directly from the freezer or let thaw 5-10 minutes for a slightly softer consistency.
- → Can I make these dairy-free?
-
Absolutely. Substitute dairy-free coconut, almond, or soy yogurt for the Greek yogurt. Ensure your granola is certified vegan and use maple syrup instead of honey. The freezing time remains the same regardless of yogurt type used.
- → What other toppings can I add?
-
Try sliced almonds, chopped pecans, shredded coconut, dried cranberries, or sliced bananas. For chocolate lovers, a drizzle of melted dark chocolate over the frozen bars adds a decadent finish. Chopped dried fruits like apricots or dates also work beautifully.
- → Why do my bars turn out too hard or icy?
-
Too much liquid causes ice crystals. Use full-fat Greek yogurt and avoid adding extra liquid. Ensure you measure honey accurately rather than pouring freely. If bars are too hard to cut, let them sit at room temperature for 10-15 minutes before slicing.
