 Pin Recipe
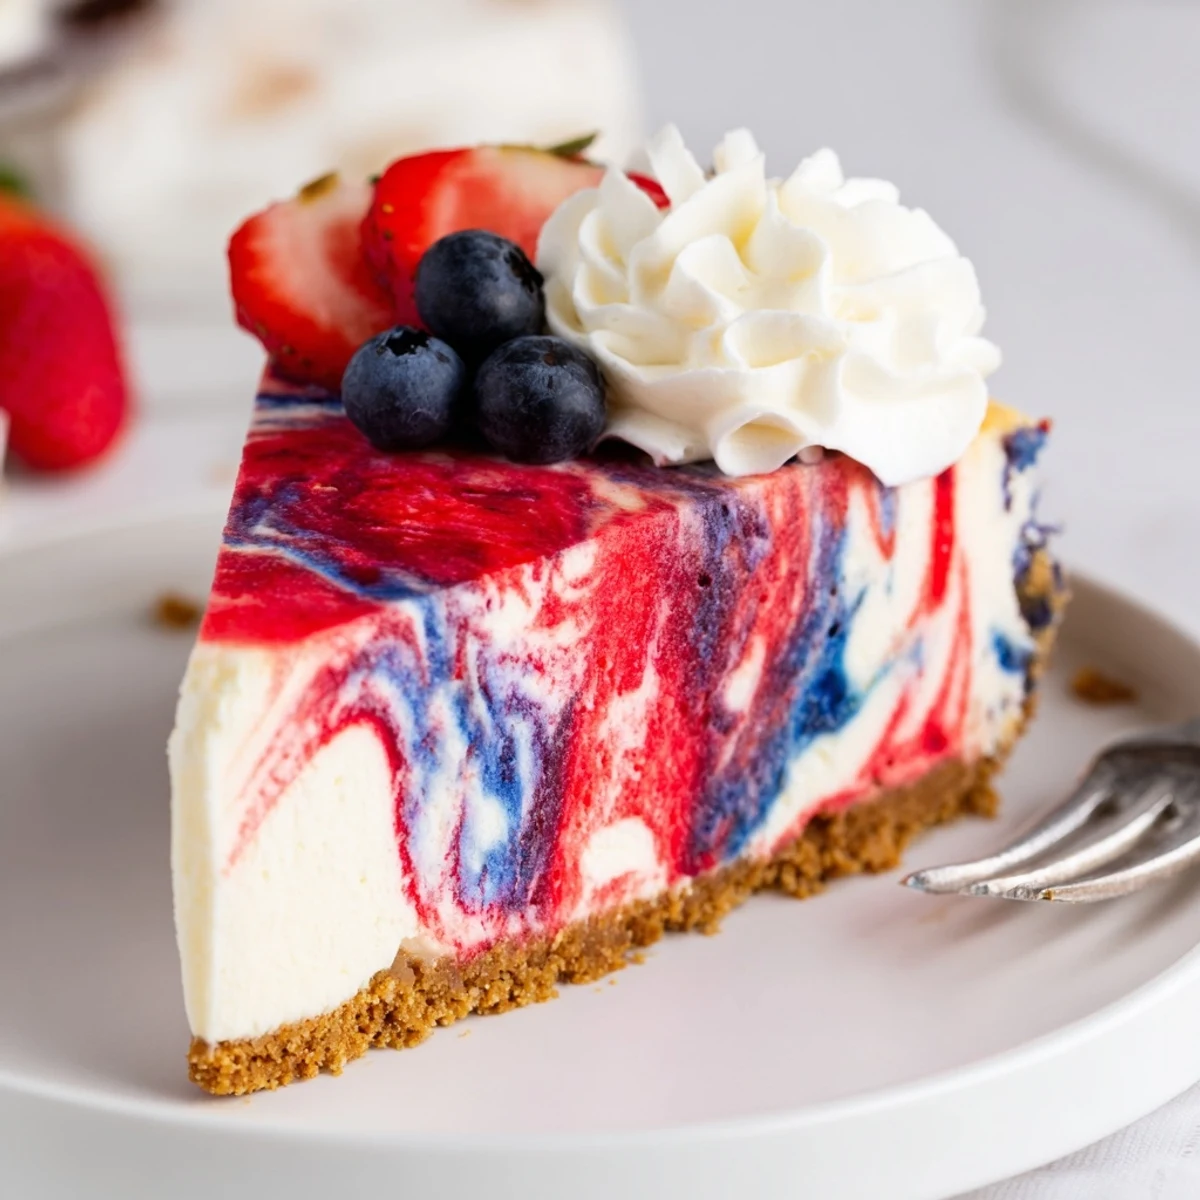
 This creamy cheesecake begins with a baked graham crust and a smooth cream cheese filling. Split the batter into three portions—plain, red and blue—then dot spoonfuls across the crust and gently swirl with a skewer for a marbled effect. Bake at 325°F until the center is just set, cool in the oven for an hour, then chill at least 3 hours for clean slices. Use gel colors for bright swirls and avoid overmixing to preserve distinct bands.
The sight of a cheesecake swirling with bold red and blue always makes me think of summer get-togethers. It was actually the loud laughter and clinking glasses from my neighbor's July cookout that inspired me to create this festive dessert, just so I could bring something unexpected to our shared table. The first trial was a mess of colors, but the kitchen smelled like sweet vanilla and toasty graham crackers, and my spirits soared despite the initial chaos. Now, this cheesecake is my go-to for making any holiday feel just a bit more magical.
I'll always remember the year my cousin tried to sneak an extra slice before the fireworks started, thinking no one would notice the missing wedge. There’s something about this cheesecake that makes it everyone’s favorite centerpiece, and it always sparks a friendly competition for the last piece. We still laugh about that night, and now I always make sure to save an extra slice for her. It's those silly moments that have woven this dessert into our family’s summer tradition.
Ingredients
- Graham cracker crumbs: Go for finely ground crumbs for an even crust that holds together after slicing.
- Granulated sugar: It sweetens the crust and the creamy filling just right; don't skip the pinch in the crust for a perfect balance.
- Unsalted butter: Melt it gently and pour over your crumbs for a crust that sets up golden and rich.
- Salt: Just a pinch sharpens the flavor of the crust; over the years, I've learned it makes a subtle difference.
- Cream cheese: Bring to room temperature to avoid lumps—your mixer (and your patience) will thank you.
- Vanilla extract: This accents the creamy filling with warmth—don't be shy with it.
- Eggs: Add one at a time just until blended for a velvety, never rubbery, texture.
- Sour cream: It’s the secret for extra tang and silkiness, and gives the filling real body.
- All-purpose flour: A scoop helps stabilize the batter; trust me, it prevents sad sunken middles.
- Red and blue gel food coloring: Gel is key here; it gives bold color without thinning the swirl layers.
Instructions
- Prep your pan:
- Grease a 9-inch springform pan and slide a fitted parchment circle on the bottom—this makes serving neat and easy.
- Mix the crust:
- Stir graham crumbs, sugar, salt, and melted butter till it looks like damp sand, then press it firmly into the pan; bake for 10 minutes and let cool as you start the filling.
- Beat the cheese:
- In a large bowl, whip softened cream cheese till smooth; you should hear the beater paddle slapping creamy peaks against the metal and see almost no lumps.
- Add wet ingredients:
- Add sugar and vanilla first to dissolve, then eggs one by one—just until each disappears—before folding in sour cream and flour gently to keep the batter airy.
- Color the batters:
- Divide the creamy batter into three bowls; leave one plain, then swirl in red coloring to one and blue to the other, mixing each just enough for vibrant, saturated hues.
- Swirl and marble:
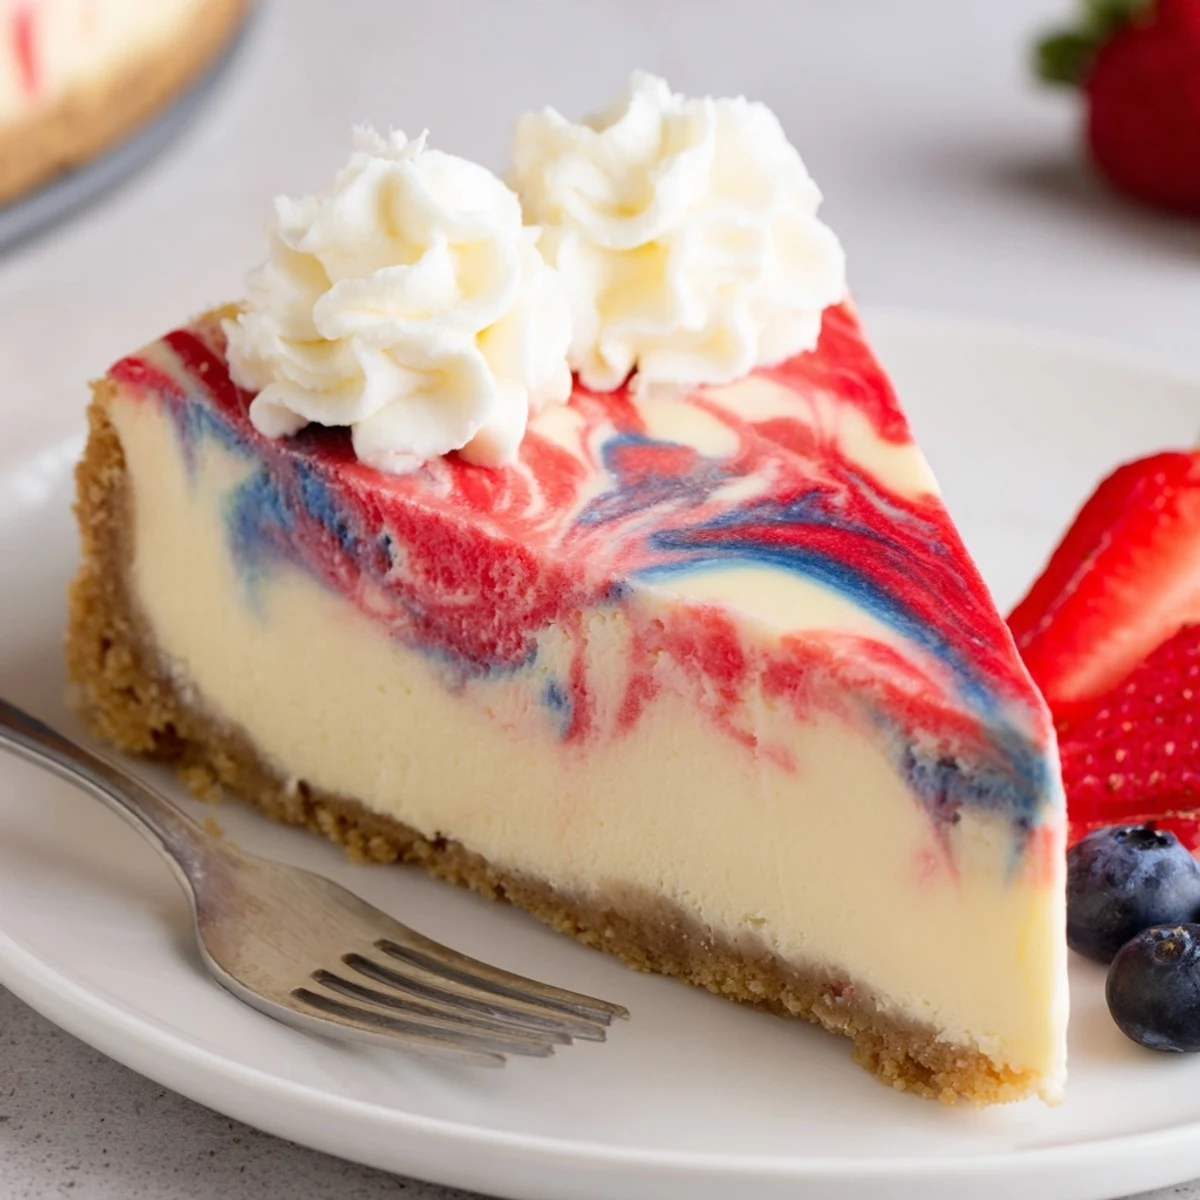
- Layer spoonfuls of each batter onto the crust in a playful patchwork and use a thin skewer to drag gentle curves through the surface—one swoop too many and the colors muddy, so less is more.
- Bake to perfection:
- Bake for about an hour, just until the very center still has a slight wobble; let cool with the oven door cracked so the top stays smooth, not cracked.
- Chill and serve:
- Patience is an ingredient here—refrigerate at least 3 hours so the cheesecake sets before unveiling those dramatic swirls when you slice.
 Pin Recipe
 Years later, I served this cheesecake for a group of friends, and it became our post-parade ritual. Watching the eager hands reach for a slice—each piece sporting a unique swirl—reminded me that food can turn even an ordinary day into a shared celebration.
How to Nail the Swirl
After a few run-throughs, I found that using a wooden skewer instead of a knife keeps the colors distinct and creates those graceful, eye-catching loops. The trick is to drag slowly, taking a deep breath and letting the movement flow. Swirl in one direction, then a partial circle back—any more and the design blurs. Sometimes, less is really more when it comes to marbling.
Keeping the Cheesecake Smooth
Avoiding cracks comes down to temperature and patience. I let all my ingredients reach room temperature first; cold eggs and cheese make the batter clump and bake unevenly. When the cheesecake is nearly done, it will have the faintest jiggle in the center, and that's when I turn off the oven, letting it cool gradually. This slow finish prevents dramatic temperature swings that love to cause splits on top.
Serving and Decorating Ideas
This cheesecake loves to be the star at gatherings, but a little whipped cream or a sprinkle of fresh berries gives it an extra bit of flair for the occasion. Sometimes, I’ll run a hot knife around the edge of the pan for the cleanest, most elegant release. Presentation isn’t everything, but there’s something satisfying about revealing those secret swirls once the cake is sliced.
- Let it chill fully before serving to preserve clean cuts.
- Use a sharp knife wiped between slices for pro-level presentation.
- Store leftovers tightly covered in the fridge for up to 3 days.
 Pin Recipe
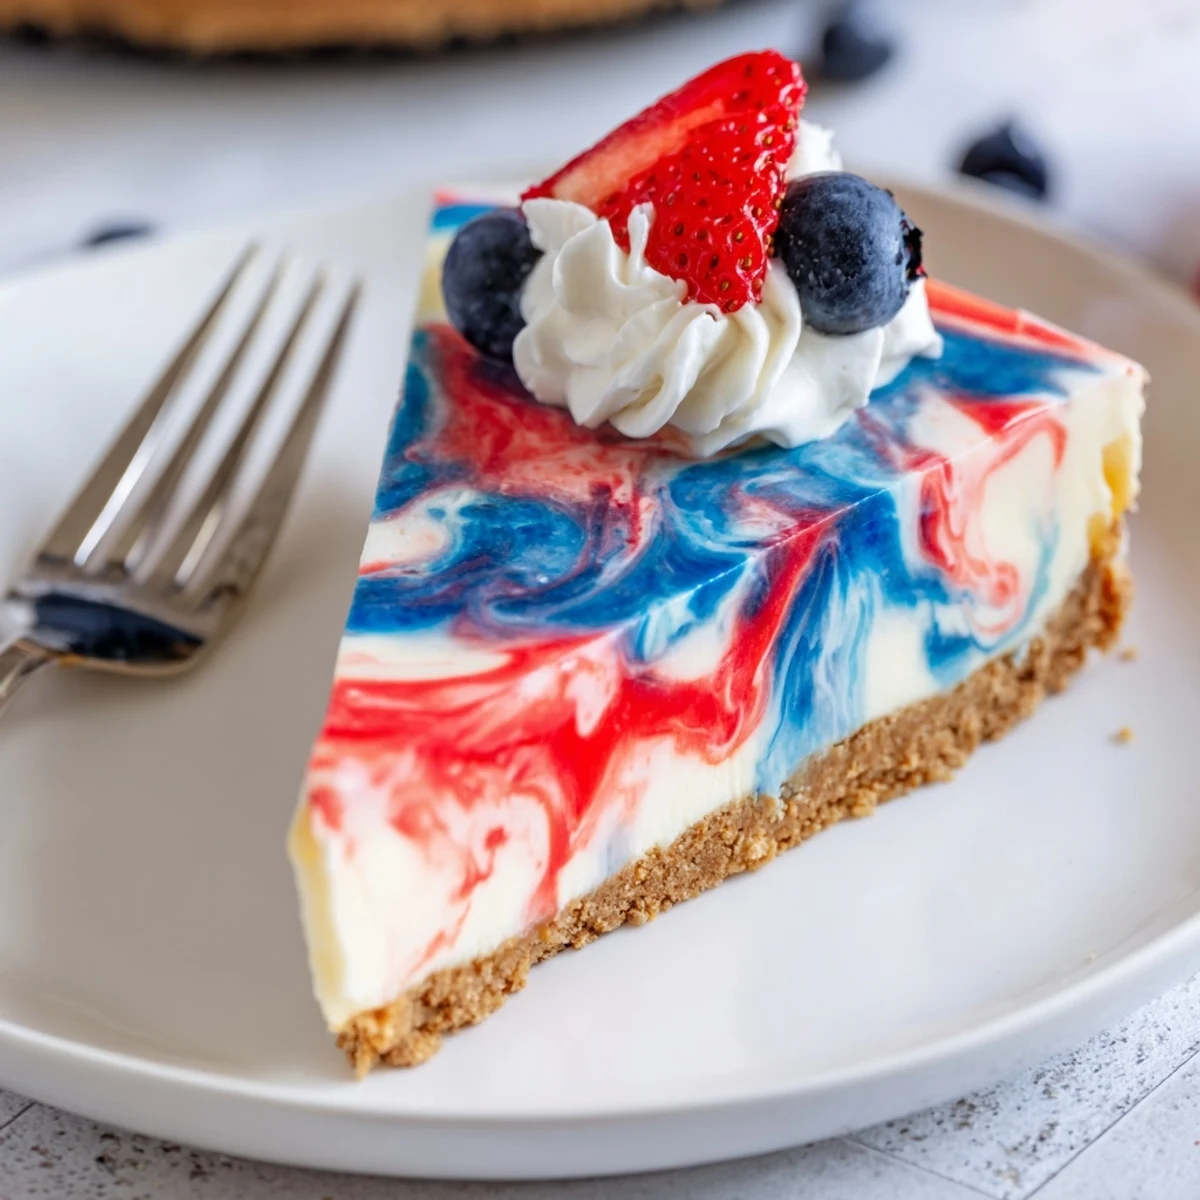
 Whenever you serve this cheesecake, expect smiles and maybe a few surprised gasps when those swirled slices hit the plate. It’s truly a festive centerpiece, and the best part is sharing it with people who make any day feel like a celebration.
Recipe FAQs
- → How do I keep the red and blue swirls distinct?
-
Use gel food coloring for concentrated color without thinning the batter. Divide the batter, tint each portion, drop alternating spoonfuls onto the crust, and swirl gently with a skewer—stop as soon as you see marbling to avoid blending the colors.
- → How can I tell when the cheesecake is done?
-
Bake until the edges are set and the center is just slightly jiggly when the pan is gently shaken. The center will firm during the hour cooling in the oven and further during refrigeration.
- → Why add sour cream and flour to the filling?
-
Sour cream adds moisture and a subtle tang for a silkier texture, while a small amount of flour helps stabilize the filling for cleaner slices and reduces the risk of cracks during baking.
- → What steps help prevent cracking on the surface?
-
Avoid overmixing and don’t overbake. Bake at a moderate temperature, turn off the oven and let the cake cool inside with the door cracked for an hour, then refrigerate. Gentle handling and room-temperature ingredients also reduce cracking.
- → Can I prepare this ahead of time and how should I store it?
-
Yes—after chilling at least 3 hours, wrap tightly and refrigerate for up to 3 days. For longer storage, freeze slices wrapped in plastic and foil for up to a month; thaw in the fridge before serving.
- → Is liquid food coloring an acceptable substitute for gel?
-
Liquid dyes can be used but may thin the batter and mute colors; if you must use liquid coloring, add sparingly and monitor batter consistency to avoid losing the marbled effect.
