 Pin Recipe
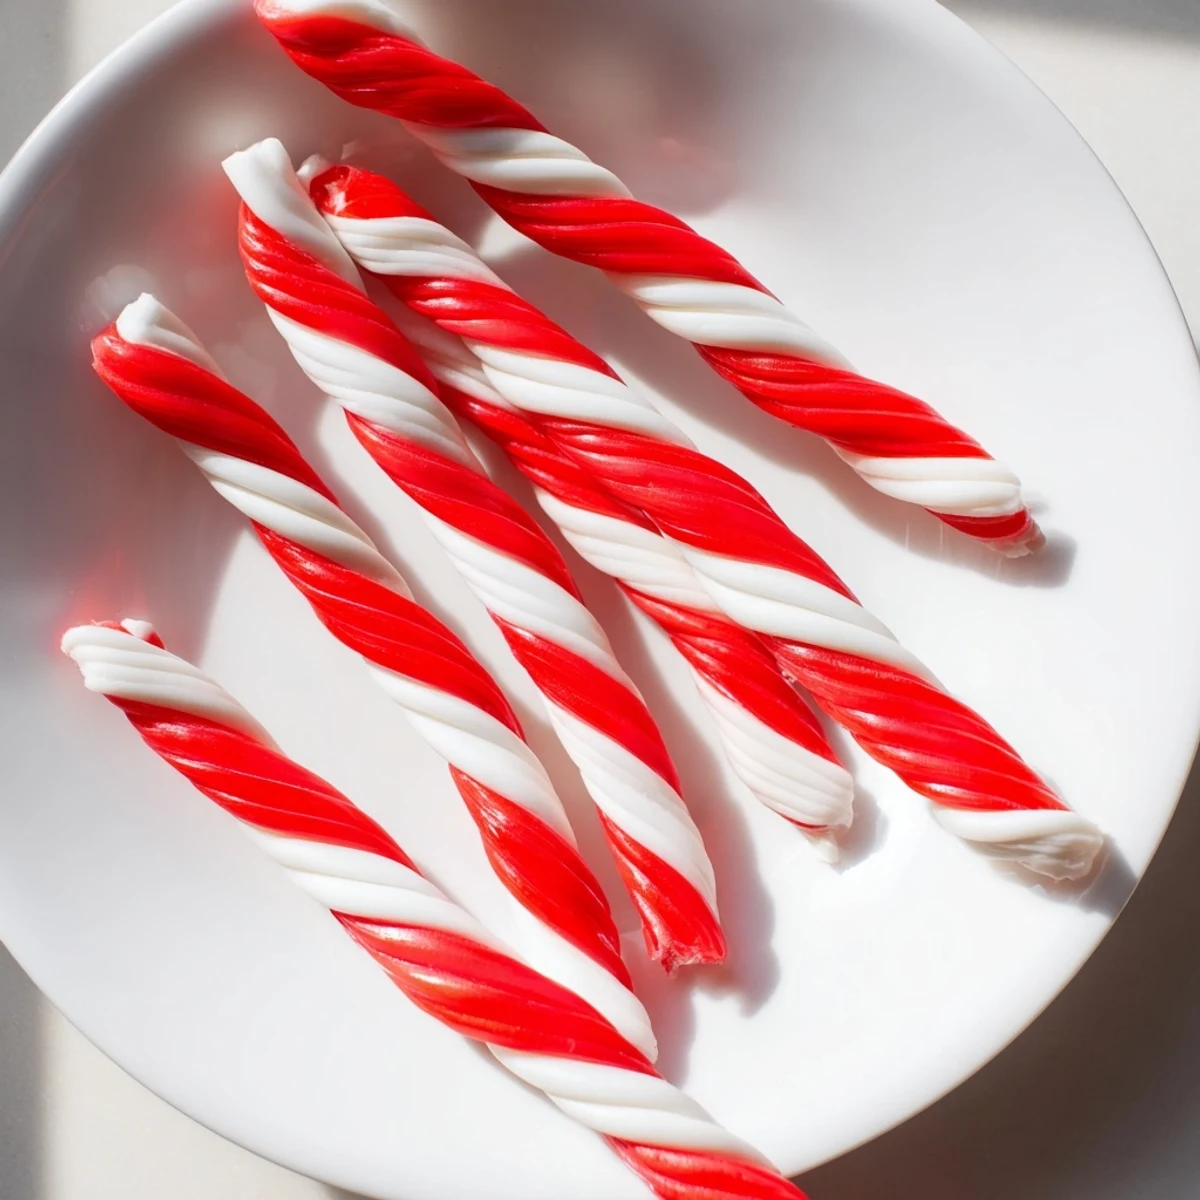
 These peppermint sticks bring a crisp crunch paired with a refreshing mint burst. Begin by cooking sugar syrup to a soft-crack stage, then add peppermint extract and divide the mixture to color one portion red. After cooling, pull and twist red and white ropes together before cutting into sticks. Perfect for holiday gifts or stirring into warm drinks, the process requires patience but rewards with sweet, festive treats.
The first time I made peppermint stick candy, it was a chilly December evening, and the whole kitchen smelled like a winter wonderland. I remember watching the sugar bubble away, mesmerized by how something simple could turn into a festive treat that brings so much joy.
One holiday, unexpected guests stopped by and I whipped up these peppermint sticks on a whim. Their delighted reactions turned this recipe into an instant favorite that I keep coming back to year after year.
Ingredients
- Granulated sugar: I trust this basic ingredient for its purity and consistent sweetness, which is key for the perfect candy texture
- Light corn syrup: It prevents crystallization, keeping the candy smooth and glossy
- Water: Helps dissolve the sugar and control the cooking temperature
- Cream of tartar: Adds acidity to help invert the sugar and prevent graininess
- Peppermint extract: The source of that classic minty burst you look forward to
- Red gel food coloring: Adds the festive pop of color — I’ve learned gel works best for vibrant hues
Instructions
- Get Everything Ready:
- Start by lining your baking sheet with parchment and prepping your marble slab or heatproof surface with a little oil to keep the candy from sticking.
- Cook the Sugar Mixture:
- Combine sugar, corn syrup, water, and cream of tartar in a saucepan over medium heat and stir gently until the sugar dissolves. Then crank up the heat and let it boil without stirring until it hits 280°F — this soft-crack stage is where the magic truly starts.
- Add Flavor and Color:
- Once off the heat, stir in peppermint extract. Pour half the mixture onto the slab and quickly add red gel coloring to the remaining syrup swirling it well before pouring it next to the white batch.
- Cool and Pull:
- Wear your heatproof gloves and wait until the candy is cool enough to handle. Pull and fold each color portion until glossy and opaque — this is the satisfying part where the candy gains its shine and texture.
- Shape and Twist:
- Roll each color into ropes about half an inch thick then twist them together. Cut into 4- to 5-inch sticks and lay them on parchment to cool completely and harden crisp.
 Pin Recipe
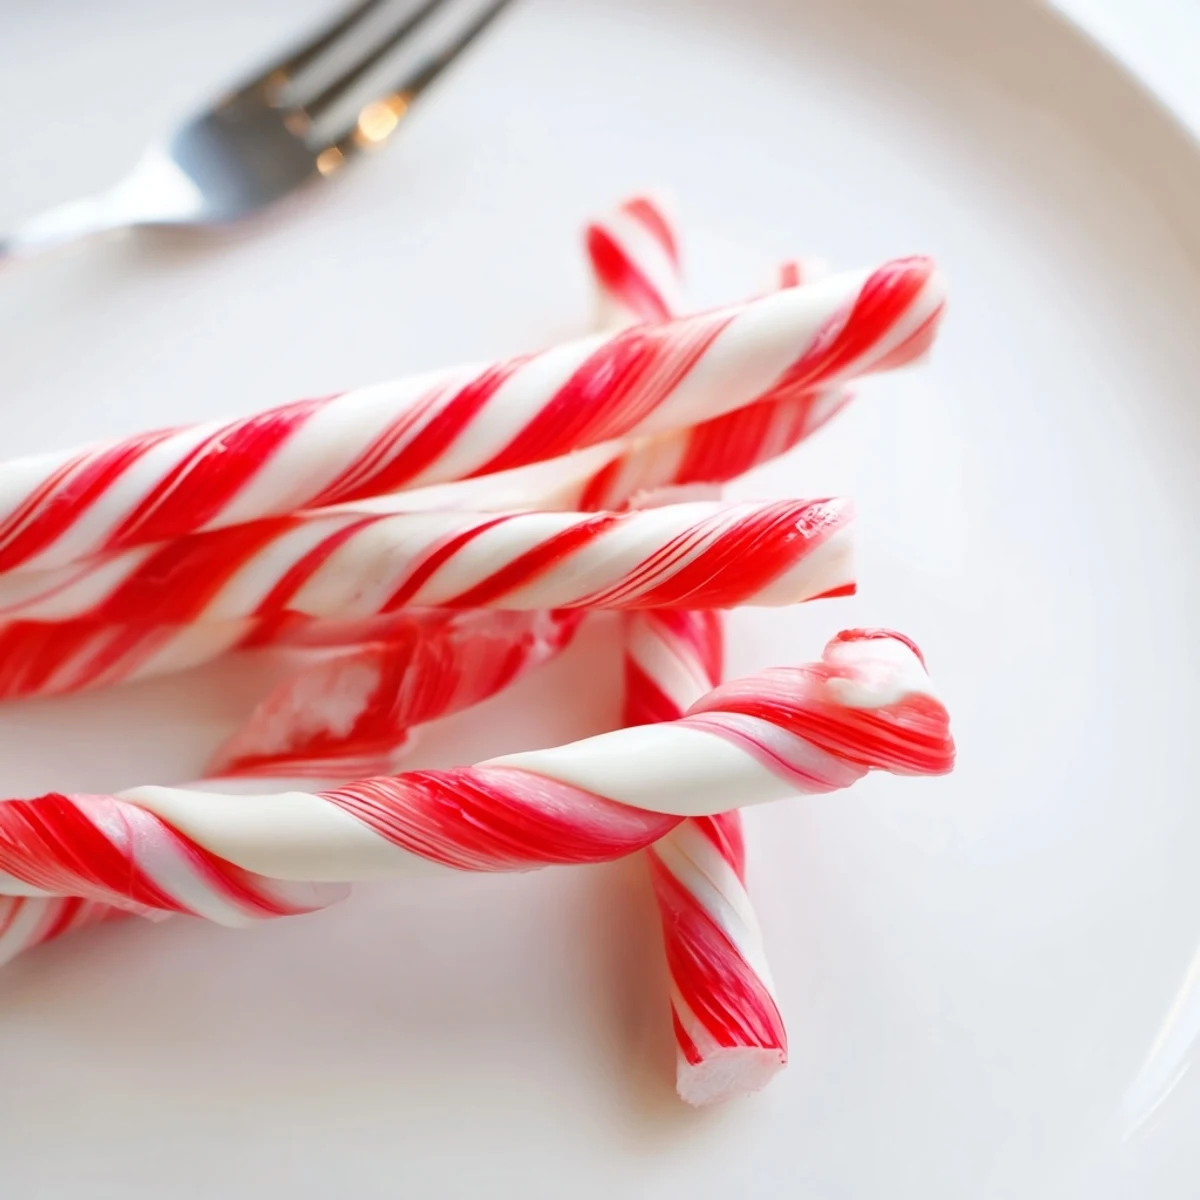
 This candy wasn’t just a sweet after a meal, it became a centerpiece on a snowy afternoon with family gathered — a comfort and celebration all wrapped into one brightly-colored stick.
Keeping It Fresh
Wrap each peppermint stick individually in cellophane to keep them crisp and fresh for weeks — I learned this the hard way after one batch went a bit sticky left uncovered.
When You're Missing Something
If you don’t have a marble slab, a smooth countertop or even a large cutting board lightly oiled will do just fine for pulling and cooling the candy.
Serving Ideas That Clicked
These sticks are perfect stirred into hot chocolate or crushed over vanilla ice cream for a festive twist
- Remember to keep extra candy handy when friends come over — it disappears fast!
- One more thing: don’t forget to share the recipe with those who want to try making their own!
- Finally, save a few sticks to decorate gift packages or mugs for an extra-special touch
 Pin Recipe
 Thanks for hanging out and sharing this sweet-making adventure with me. Here’s to many more kitchen memories filled with flavor and fun!
Recipe FAQs
- → What temperature should the sugar syrup reach?
-
The syrup should reach 280°F, known as the soft-crack stage, to ensure proper texture for pulling and shaping.
- → How do I achieve the classic red and white stripes?
-
Separate the syrup into two portions, add red gel coloring to one half, then pull and twist the two portions into ropes before cutting.
- → Can I use other food colorings?
-
Yes, feel free to experiment with different colorings to customize the appearance of your sticks.
- → What tools are essential for making these sticks?
-
A candy thermometer, marble slab or heatproof surface, heatproof gloves, and parchment paper are essential for safe and effective preparation.
- → How long should the sticks cool before serving?
-
Allow sticks to cool and harden completely for 30 to 45 minutes to achieve the desired crispness.
