 Pin Recipe
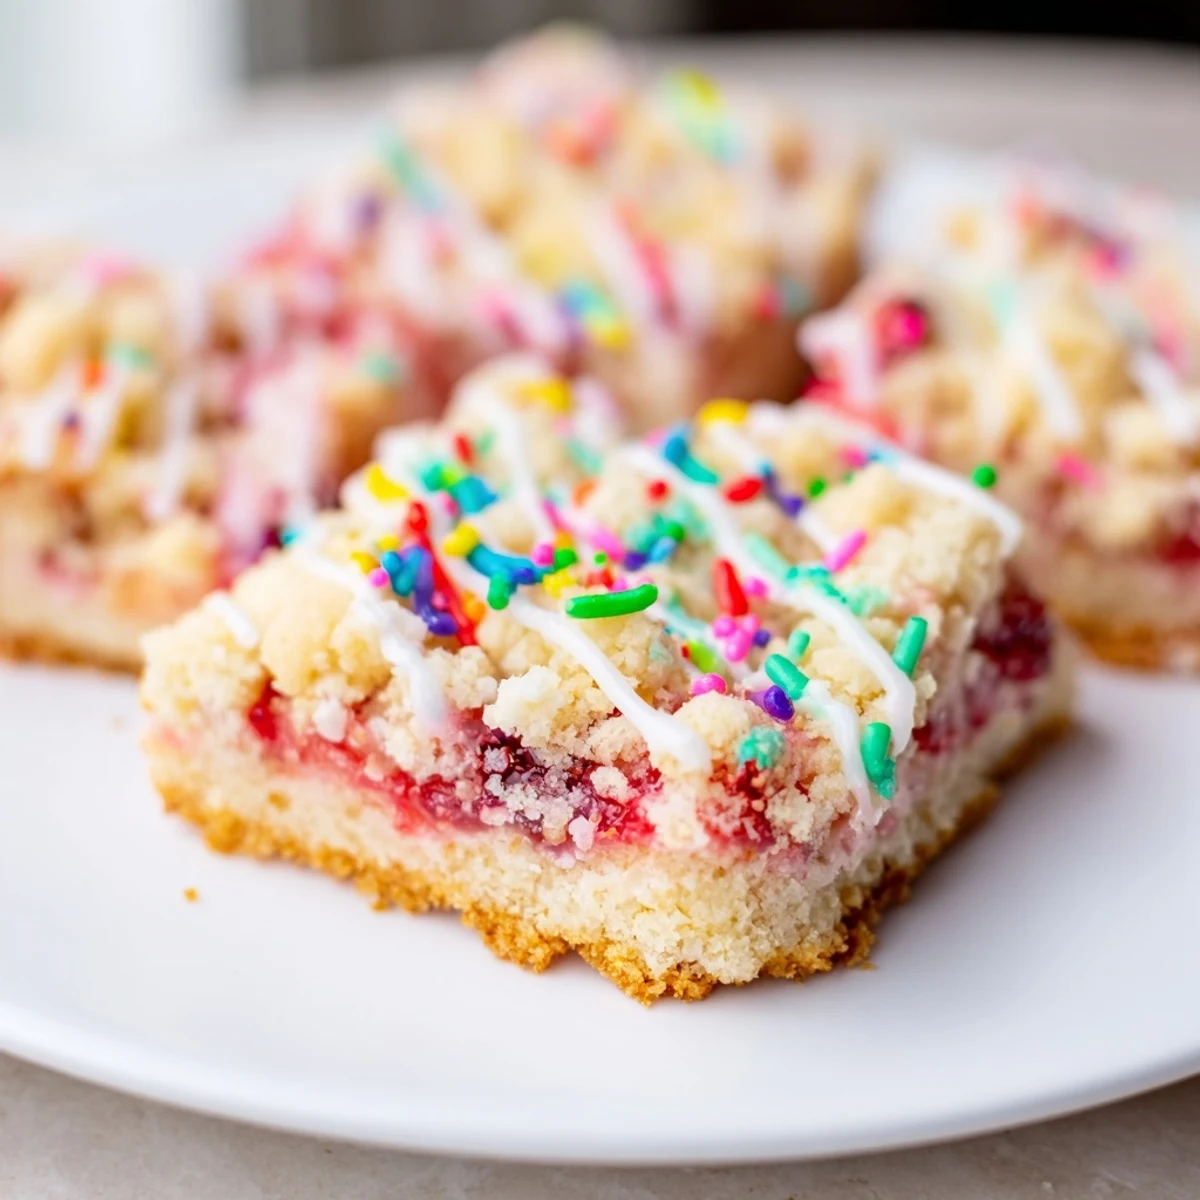
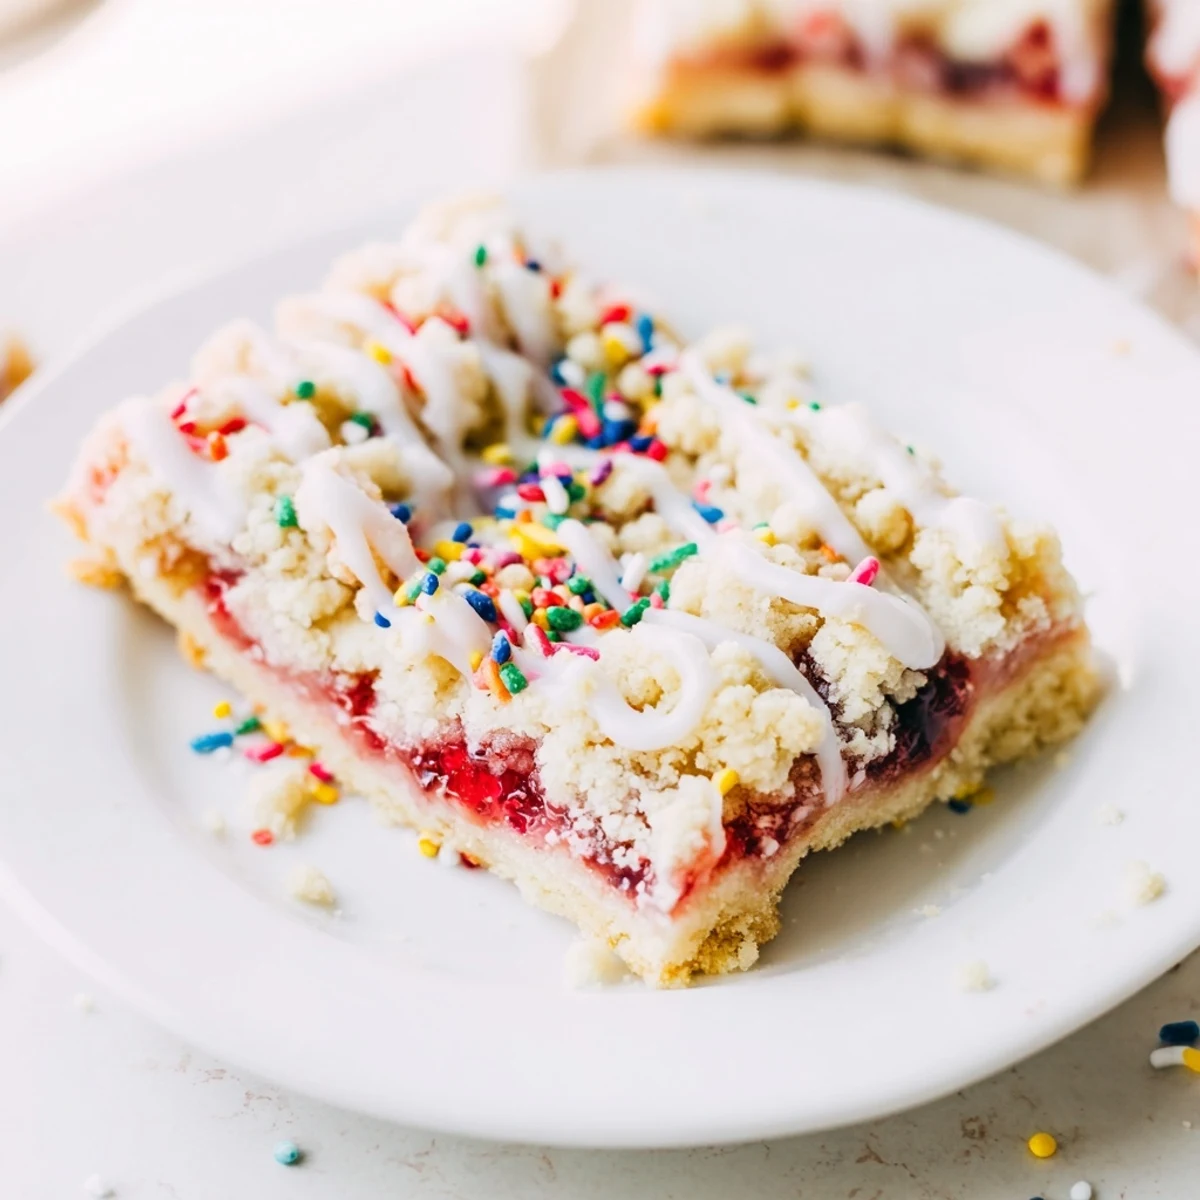
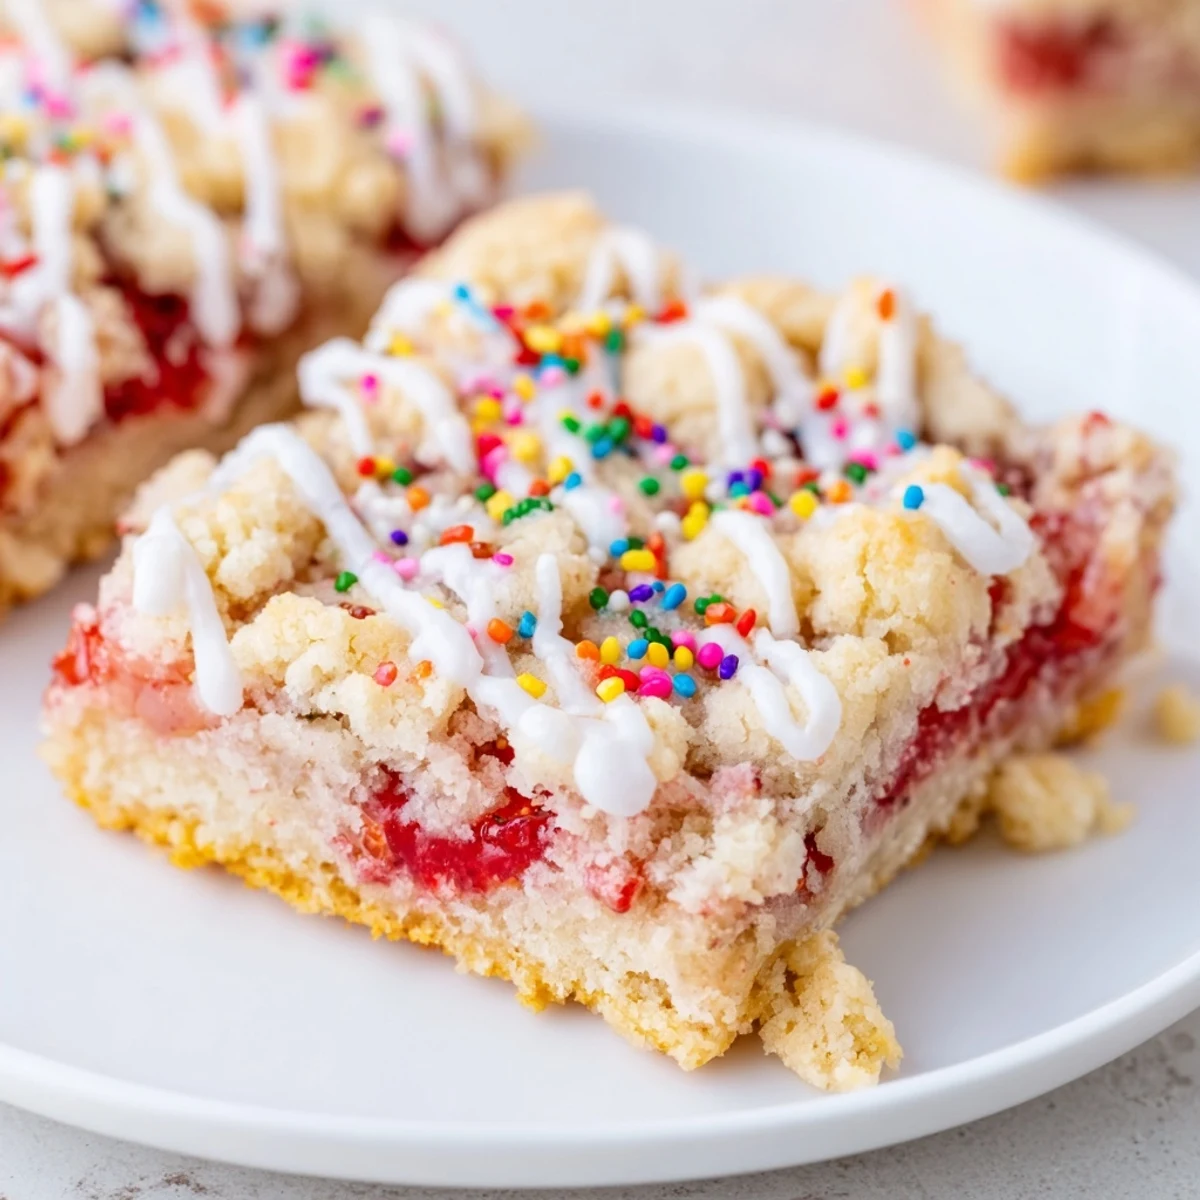
 These nostalgic dessert bars combine a soft, buttery sugar cookie base with a sweet strawberry jam filling and a simple vanilla glaze. The cookie dough gets pressed into the pan, topped with jam, then crumbled with remaining dough before baking until golden. After cooling, a quick powdered sugar glaze gets drizzled over the top and finished with plenty of colorful sprinkles for that classic poptart look. Ready in under an hour, these bars capture childhood breakfast memories in a fun handheld dessert perfect for parties, bake sales, or after-school treats.
My roommate sophomore year had this habit of stress baking during finals week, and one rainy Tuesday she emerged from the kitchen with these gloriously messy bars that smelled like childhood mornings. The concept was brilliantly simple, portable pop tarts in bar form, no toaster required. We ate them warm right off the parchment paper while studying chemistry formulas and I was completely sold on the genius of turning something handheld into something shareable.
Last summer I made these for a neighborhood potluck, and within ten minutes three different people had asked for the recipe. The best moment was watching a skeptical eight year old take his first bite, eyes go wide, and immediately ask if he could have seconds for dessert instead of the elaborate cake someone else had brought. Sometimes the simplest childhood flavors, done right, are exactly what everyone craves.
Ingredients
- Unsalted butter: Bring it to room temperature so it creams properly with the sugar, creating that tender cookie base texture
- Granulated sugar: Sweetens the dough and provides structure, creaming with butter creates air pockets for a lighter crumb
- Eggs: Bind everything together while adding richness and helping the cookie base set properly as it bakes
- Vanilla extract: Use pure extract here because the vanilla shines through in every layer of these bars
- All purpose flour: The structure builder, measure by spooning into your cup and leveling off for accuracy
- Baking powder: Gives the cookie base just enough lift without making it cakey or dry
- Salt: Balances all the sweetness and makes the flavors pop, do not skip this
- Strawberry jam: Seedless spreads most evenly, but any fruit jam or preserve works beautifully here
- Powdered sugar: Creates that signature glaze that transforms these from good cookies into something special
- Milk: Thins the glaze to pourable consistency, start with less and add more as needed
- Sprinkles: The crowning glory that makes these look festive and fun, add them while the glaze is wet
Instructions
- Preheat and prepare:
- Set your oven to 350 degrees and line a 9x13 pan with parchment paper, letting the edges hang over slightly for easy lifting later
- Cream the butter and sugar:
- Beat softened butter and sugar until pale and fluffy, about 3 minutes, scraping the bowl once
- Add eggs and vanilla:
- Beat in eggs one at a time, then pour in the vanilla, mixing until everything is incorporated
- Combine dry ingredients:
- Whisk flour, baking powder, and salt together in a separate bowl so they distribute evenly
- Mix the dough:
- Gradually stir the dry ingredients into the wet mixture, mixing just until no flour streaks remain
- Press the base:
- Take about two thirds of the dough and press it evenly across the bottom of your prepared pan
- Layer the jam:
- Spread the jam over the dough, leaving a tiny border around the edges so it does not seep out during baking
- Add the topping:
- Crumble the remaining dough over the jam in small pieces, pressing very gently so it adheres
- Bake until golden:
- Bake 23 to 27 minutes until the edges are lightly golden and the center no longer jiggles
- Cool completely:
- Let the bars cool entirely in the pan on a wire rack, this is crucial before glazing
- Make the glaze:
- Whisk powdered sugar, milk, and vanilla until smooth and drizzly, adding more milk if needed
- Glaze and decorate:
- Drizzle the glaze over the cooled bars and immediately scatter sprinkles on top before it sets
- Slice and serve:
- Let the glaze set for 15 minutes, then lift the bars out using the parchment and cut into squares
 Pin Recipe
 My niece helped me make these last holiday season and insisted on doing the sprinkles herself, which resulted in a spectacularly colorful mess but also the most joyful kitchen moment I have had in ages. The way she carefully positioned each sprinkle, tongue poking out in concentration, reminded me that sometimes the prettiest version is not the most important part.
Choosing Your Jam
Straight up strawberry or raspberry jam are classics for a reason, their bright tartness cuts through all that buttery sweetness perfectly. I have found that seedless varieties spread more evenly, and chunky preserves can create uneven pockets that make cutting through the bars a bit tricky, though the rustic look is lovely in its own way.
Making Ahead
The dough base can be pressed into the pan and frozen raw for up to a week, then topped with jam and baked straight from frozen, just add a few minutes to the baking time. Already baked bars keep beautifully at room temperature for three days, layered between parchment so the glaze does not stick to everything.
Serving Suggestions
These bars are sweet enough to stand alone as dessert, but I love serving them with a cup of coffee or cold milk for that classic breakfast pastry vibe. For parties, cut them into small squares because a little goes a long way with all that sugar and butter.
- Warm a bar in the microwave for ten seconds and serve with vanilla ice cream for an incredible dessert
- Pack them in lunch boxes or care packages, they travel remarkably well without crumbling
- Swap the sprinkles for crushed graham crackers or chopped nuts for a more grown up topping
 Pin Recipe
 There is something deeply satisfying about transforming a childhood favorite into something homemade and infinitely better. These bars have become my go to for bake sales and potlucks because they feel special without requiring any fancy techniques.
Recipe FAQs
- → Can I use different jam flavors?
-
Absolutely. While strawberry jam provides that classic poptart taste, raspberry, blueberry, apricot, or even mixed berry jam work wonderfully. Feel free to use whatever jam you have on hand or prefer.
- → How should I store these bars?
-
Store in an airtight container at room temperature for up to 3 days. For longer storage, refrigerate for up to a week. The bars can also be frozen for up to 3 months—just wrap individually and thaw at room temperature before serving.
- → Can I make these gluten-free?
-
Yes. Substitute the all-purpose flour with a 1:1 gluten-free flour blend designed for baking. The texture and taste will remain similar, making these accessible for those with gluten sensitivities.
- → Why do I need to let the bars cool completely before glazing?
-
The glaze will melt and slide right off warm bars, creating a messy appearance. Allowing them to cool completely ensures the glaze sets properly and stays in place, giving you that beautiful finished look with the sprinkles adhering perfectly.
- → Can I make the dough ahead of time?
-
The cookie dough can be prepared ahead and refrigerated for up to 2 days before baking. Let it come to room temperature slightly for easier pressing into the pan. You can also bake the bars a day before serving and glaze them the next day.
- → What size pan should I use?
-
A 9x13-inch pan is ideal for this recipe, producing bars that are substantial but not too thick. Using a smaller pan will require longer baking time, while a larger pan may result in thinner bars that could overbake.
