 Pin Recipe
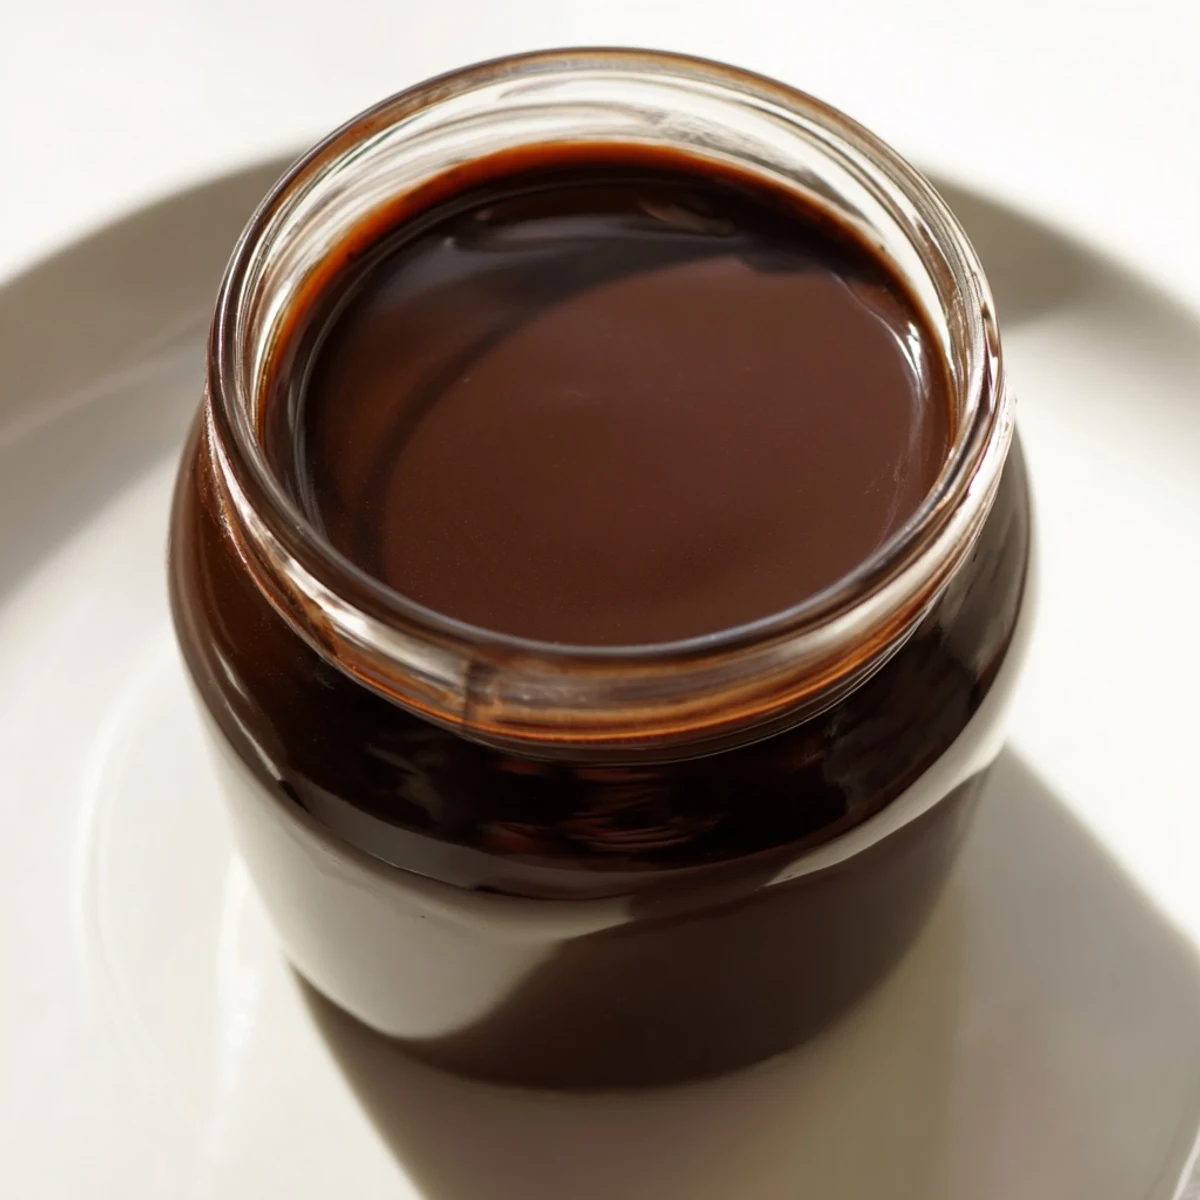
 This silky chocolate syrup combines cocoa, sugar, and vanilla into a smooth, rich topping. Made by simmering the ingredients until slightly thickened, it enhances desserts and drinks alike. Easy to prepare in just 10 minutes and ideal for drizzling or mixing. Store cooled in a jar and refrigerate to preserve freshness.
For extra richness, simmer a few minutes longer or add cinnamon or espresso powder for a flavor twist. Vegan and vegetarian friendly, this versatile syrup adds a decadent chocolate touch to many dishes and beverages.
One lazy Sunday morning, my daughter stood in front of the open fridge, disappointed by the store-bought chocolate syrup that had turned into a grainy, separated mess. I remembered my grandmother's trick: a five-minute syrup made from pantry basics, silky and pure. That afternoon, we stirred together sugar, cocoa, and water in a small saucepan, and the kitchen filled with that unmistakable chocolate warmth. She watched it transform from gritty mixture to glossy ribbon, mesmerized by how simple it could be.
Years later, I made this syrup at my first dinner party in a new apartment, drizzling it over vanilla ice cream for dessert. A friend asked for the recipe before even tasting it, just from smelling it simmering on the stove. That's when I realized this wasn't just a condiment, it was the kind of small gesture that made people feel cared for.
Ingredients
- Granulated sugar (1 cup / 200 g): This is your sweetness base and structure, and using granulated rather than brown keeps the syrup pure chocolate in color and taste.
- Unsweetened cocoa powder (1 cup / 80 g): Don't reach for hot chocolate mix here—you need the real thing, no added sugars or milk powder, so the chocolate flavor stays bold and honest.
- Salt (1/4 tsp): Just a whisper, but it brightens the cocoa and keeps the syrup from tasting one-dimensional.
- Water (1 cup / 240 ml): Room temperature is fine; this dissolves everything evenly without cooking off the cocoa's delicate notes.
- Pure vanilla extract (1 tsp): Added after cooking so the alcohol doesn't evaporate and take the vanilla aroma with it, keeping that warm finish intact.
Instructions
- Whisk the dry ingredients into a smooth blend:
- Combine the sugar, cocoa powder, and salt in your saucepan, breaking up any cocoa lumps as you stir. This dry blend is your chance to catch any clumps before liquid hits; cocoa powder can be stubborn, so don't rush this step.
- Slowly stream in the water while whisking constantly:
- Add water a little at a time, whisking hard each time, until you have a completely smooth paste. If you dump it all in at once, you'll trap cocoa powder pockets that refuse to dissolve no matter how much you stir.
- Heat gently to a simmer and let it thicken:
- Set the saucepan on medium heat and stir often as it warms up. Once it starts to bubble gently around the edges, you'll notice the mixture glossing up and becoming more viscous—this usually takes 2 to 3 minutes of gentle simmering.
- Finish with vanilla and cool:
- Pull it off the heat, stir in the vanilla extract, and let it sit for 10 to 15 minutes. As it cools, it continues to thicken slightly, settling into that silky-smooth texture that clings to a spoon.
 Pin Recipe
 I think back to my daughter asking if we could make it again the next week, then the week after that, until it became our thing. A homemade syrup somehow turned into a small ritual we looked forward to, proof that the best kitchen moments aren't about fancy ingredients or hours at the stove.
Storage and Make-Ahead
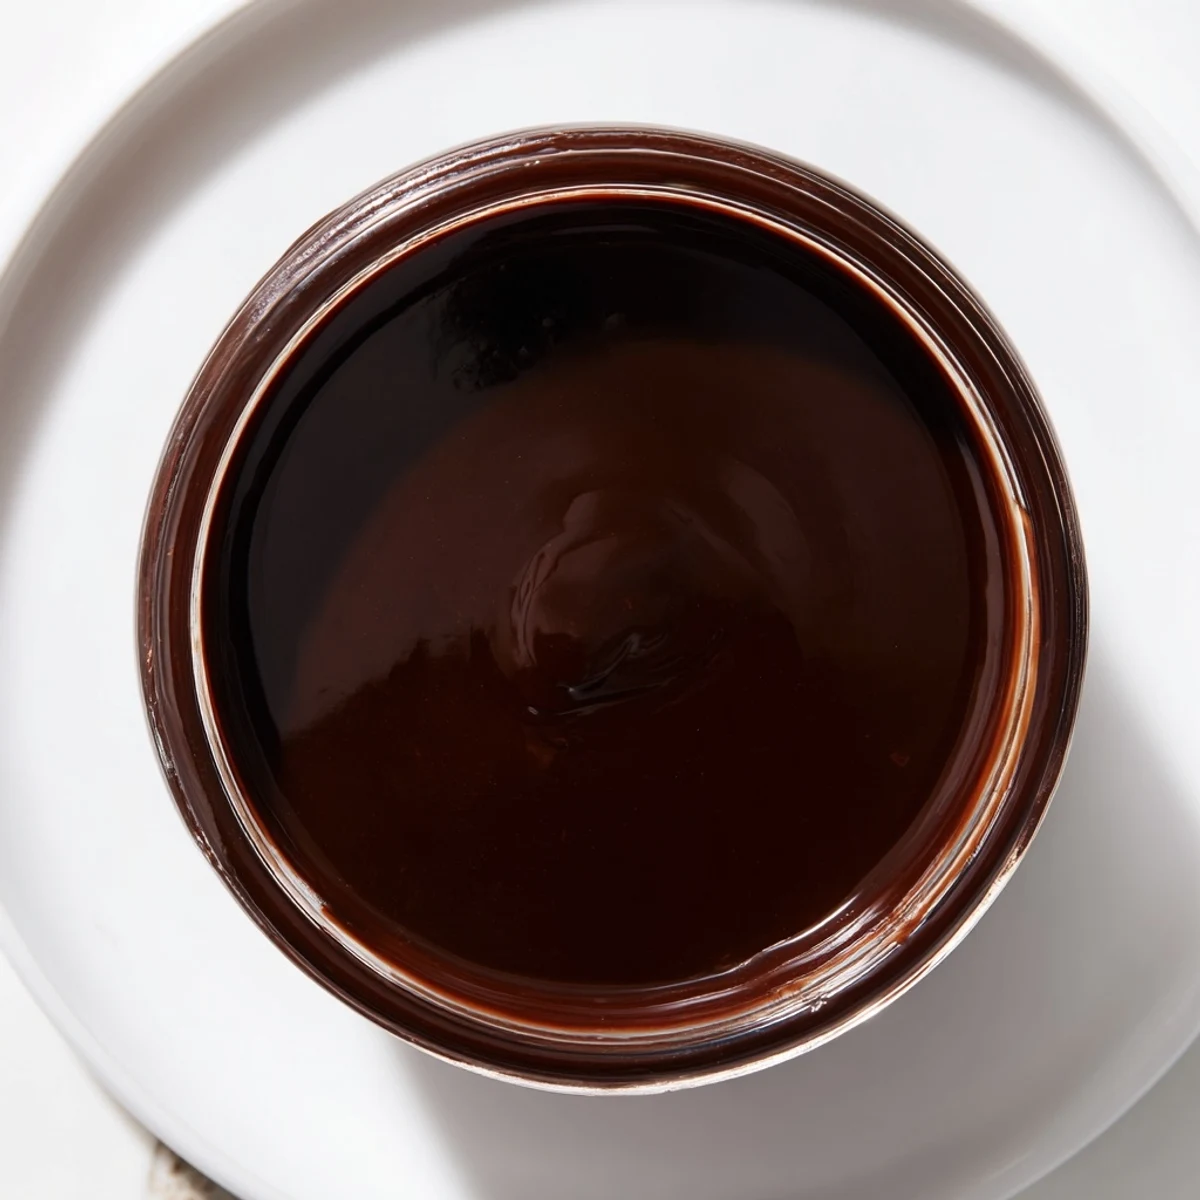
Pour the cooled syrup into a clean glass jar or bottle and refrigerate it as soon as it reaches room temperature. It keeps beautifully for up to two weeks, and the flavor actually settles and deepens after a day or two. Before each use, give it a good stir or shake because the cocoa will naturally want to sink to the bottom—this is just cocoa being cocoa, not a sign anything went wrong.
Ways to Use It
Pour it warm over vanilla ice cream for an instant dessert, or stir a couple spoonfuls into cold milk for a no-fuss chocolate drink. Swirl it into coffee, drizzle it over pancakes, or layer it into yogurt for breakfast. The possibilities multiply quickly once you have a jar in the fridge.
Flavor Variations Worth Trying
Once you've mastered the basic recipe, small additions open up new territory. A pinch of cinnamon or a tiny bit of espresso powder deepens the chocolate complexity without announcing itself. Some days I add a drop of almond extract or a touch of chili powder, playing with what feels right.
- Cinnamon and a hint of cayenne bring unexpected warmth and sophistication to the syrup.
- Espresso powder or instant coffee amplifies the chocolate depth without making it taste like coffee.
- A drop of almond or peppermint extract shifts the mood entirely while keeping the chocolate front and center.
 Pin Recipe
 This syrup lives in my fridge year-round now, ready for lazy breakfasts, last-minute desserts, or whenever someone needs reminding that the best things are often the simplest. Make it once and you'll wonder why you ever bought the other kind.
Recipe FAQs
- → How do I thicken the chocolate syrup?
-
Simmer the mixture for 2–3 minutes longer while stirring to achieve a thicker consistency.
- → Can this syrup be used in hot beverages?
-
Yes, it blends smoothly into coffee or hot milk for a rich chocolate flavor.
- → How should I store the syrup?
-
After cooling, transfer to a clean jar and refrigerate. Shake or stir before each use.
- → Are there flavor variations to try?
-
Adding a pinch of cinnamon or espresso powder creates a unique, enhanced flavor profile.
- → Is this syrup suitable for vegans?
-
Yes, it contains no animal products and is suitable for vegan diets.
- → What tools are needed to prepare the syrup?
-
A medium saucepan, whisk, measuring cups and spoons, plus a heatproof jar for storage are required.
