 Pin Recipe
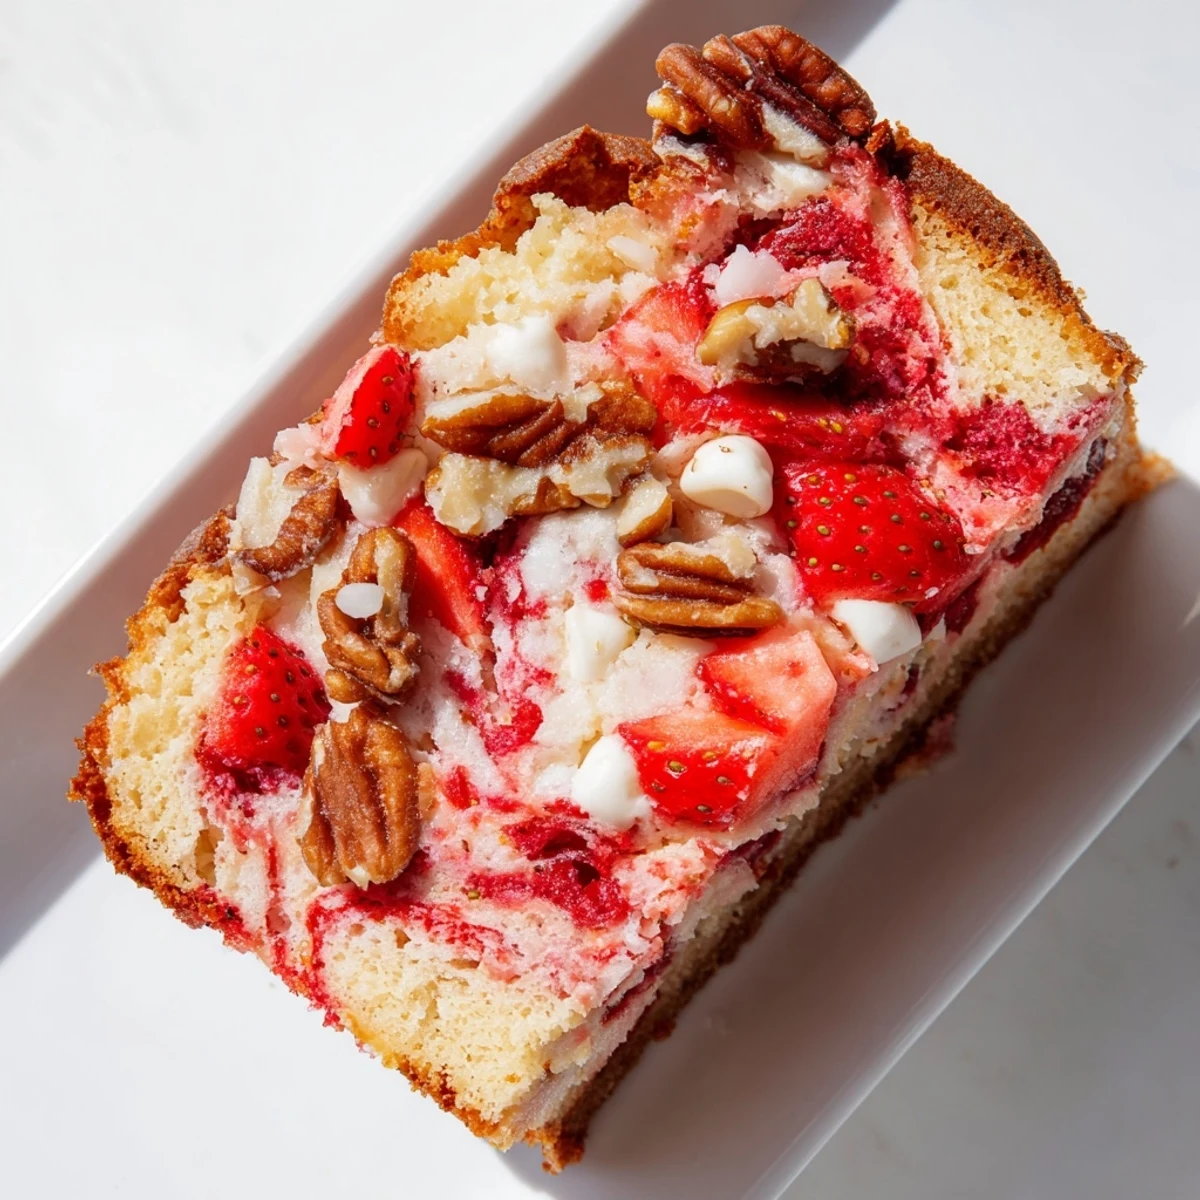
 This indulgent dessert combines a soft strawberry cake base with a velvety cream cheese filling swirled throughout. The magic happens in the oven where the layers create beautiful, uneven cracks—hence the earthquake name. White chocolate chips add sweetness while fresh strawberries bring tart contrast. Optional coconut and nuts provide delightful texture. The result is a gorgeously messy masterpiece that balances sweet, creamy, and fruity elements in every bite. Perfect for potlucks, parties, or anytime you need a crowd-pleasing sweet treat that looks as impressive as it tastes.
The first time I made this earthquake cake, my daughter walked into the kitchen and asked why I was making such a mess. That is exactly the point, I told her, watching the cream cheese swirls create that beautiful chaotic pattern that gives this dessert its name.
I brought this to a neighborhood potluck last spring, and within minutes people were asking for the recipe. My friend Sarah actually went back for thirds and then texted me at 11pm that night begging for the instructions.
Ingredients
- Strawberry cake mix: The foundation that saves you time while delivering authentic strawberry flavor
- Cream cheese: Make sure it is truly softened or you will end up with stubborn lumps that refuse to blend
- Unsalted butter: Room temperature butter mixes into the cream cheese so much easier than cold
- Powdered sugar: This sweetens the cream cheese layer without adding grainy texture
- White chocolate chips: They melt into crevices creating pockets of creamy sweetness throughout
- Fresh strawberries: The real fruit chunks burst with juice and balance the sweetness
Instructions
- Prepare your kitchen:
- Preheat that oven to 350°F and grease your 9x13 pan like your life depends on it because this cake sticks.
- Mix the cake batter:
- Combine the cake mix, eggs, oil, and water in a large bowl and blend until smooth, then spread it evenly in your prepared pan.
- Make the creamy filling:
- Beat the softened cream cheese and butter until absolutely smooth before adding the powdered sugar and vanilla.
- Create the earthquake effect:
- Drop spoonfuls of cream cheese mixture over the batter and swirl with a knife but do not overdo it or you will lose the distinct layers.
- Add the toppings:
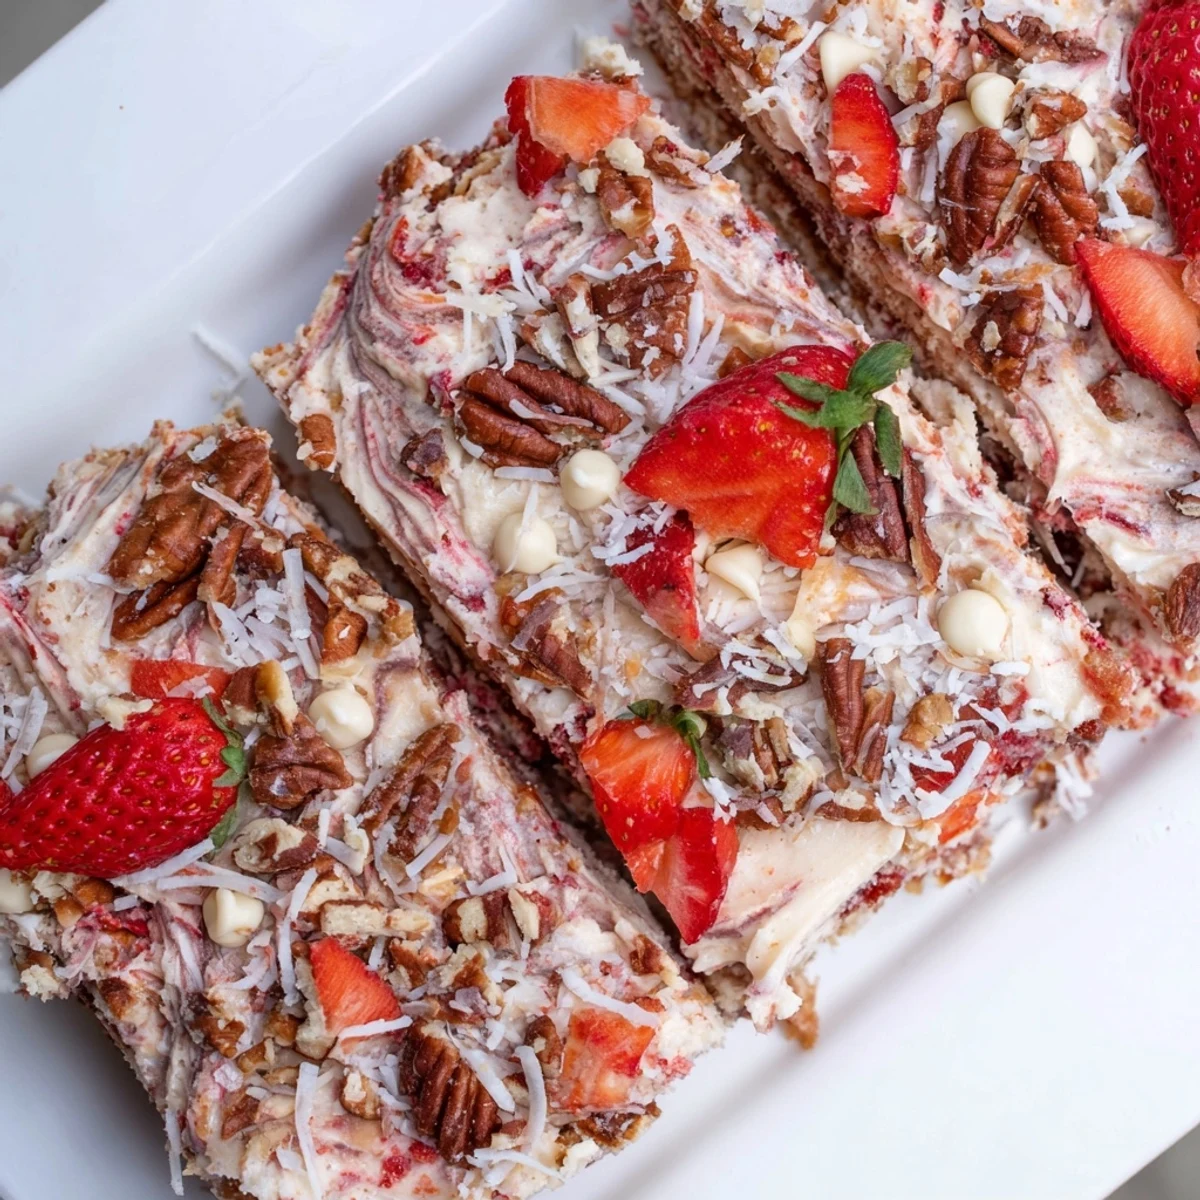
- Scatter white chocolate chips, strawberries, coconut, and nuts across the surface letting them fall naturally into the crevices.
- Bake until golden:
- Slide it into the oven for 40 to 45 minutes until the edges turn golden and the center is set with just a few moist crumbs.
- Patience pays off:
- Let it cool in the pan for at least 30 minutes because slicing it warm will turn your beautiful earthquake into a landslide.
 Pin Recipe
 This has become my go-to dessert for church suppers and family gatherings because it feeds a crowd and looks impressive with zero effort. Last Christmas my grandmother actually asked if I had been taking secret baking classes.
Making It Your Own
Swap the strawberries for raspberries in the summer or try blueberries when they are in season. I have even used peaches with great success during those humid August weeks when nothing sounds better than something cold and sweet.
Serving Suggestions
A dollop of freshly whipped cream on top transforms this from great to unforgettable. Sometimes I serve it slightly warmed with a scoop of vanilla bean ice cream melting into all those delicious crevices.
Storage And Make Ahead Tips
This cake actually tastes better the next day when all the flavors have had time to mingle. Store it covered at room temperature for up to three days though it rarely lasts that long in my house.
- Wrap the pan tightly with plastic wrap once it has cooled completely
- The cream cheese layer firms up in the refrigerator making it easier to slice cold
- Bring slices to room temperature before serving for the best texture
 Pin Recipe
 There is something deeply satisfying about serving a dessert that looks like it took hours when you know the truth. Happy baking, friend.
Recipe FAQs
- → Why is it called earthquake cake?
-
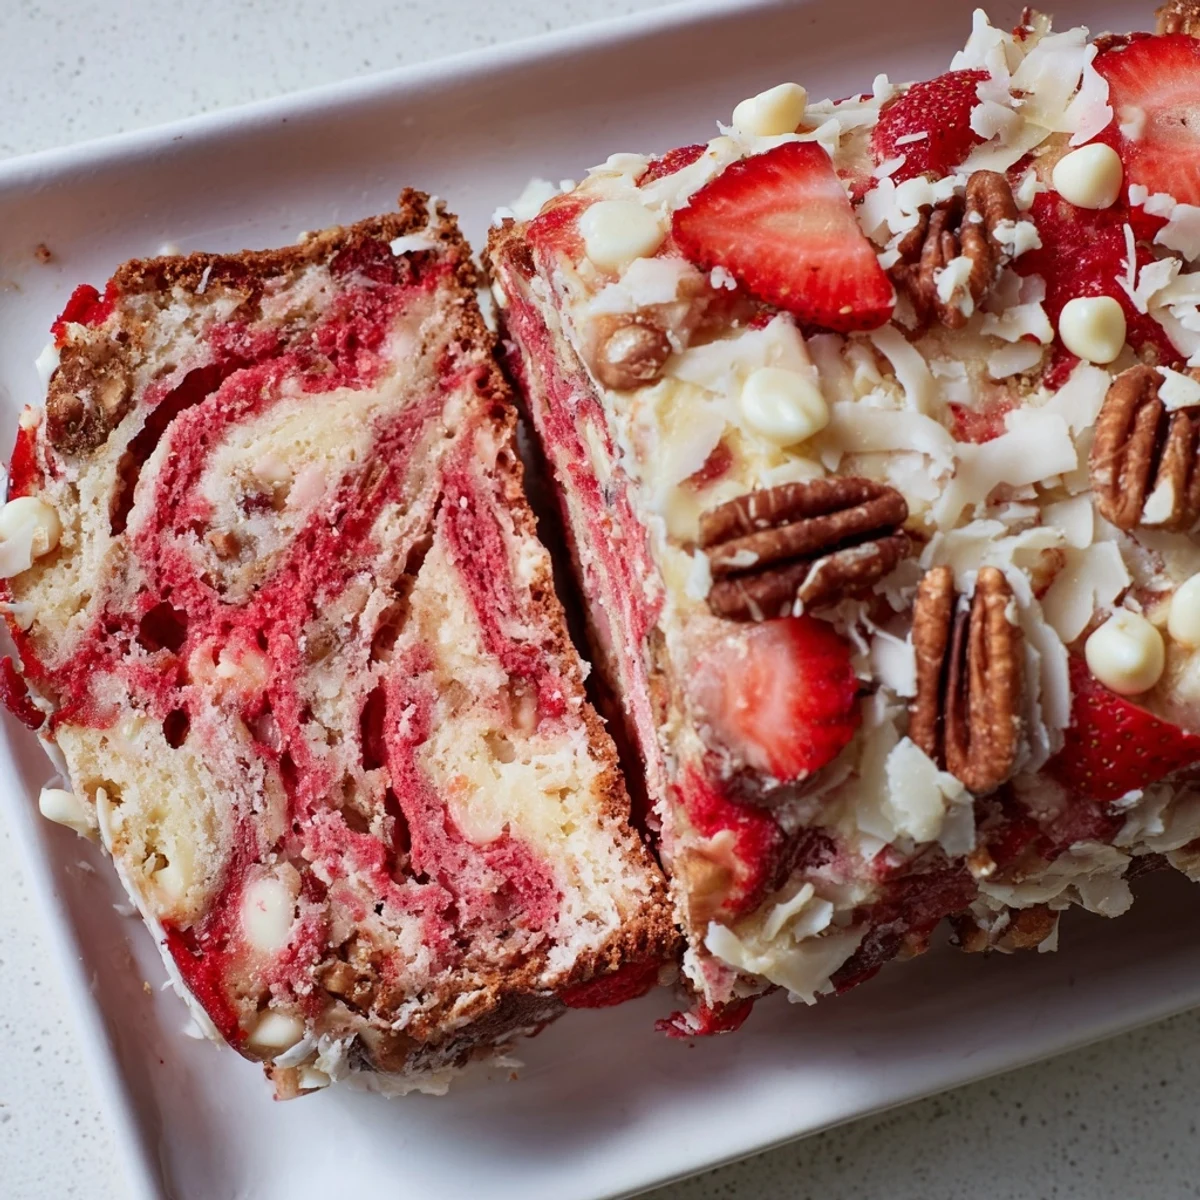
The dessert gets its name from the dramatic cracks and crevices that form while baking. As the cream cheese mixture sinks into the cake batter, it creates uneven, earthquake-like fissures across the surface. This rustic appearance is part of the charm and makes each slice unique.
- → Can I make this dessert ahead of time?
-
Yes, this cake actually tastes better after resting. You can bake it up to 24 hours in advance and store it covered at room temperature. The flavors meld together beautifully, and the texture becomes even more moist and fudgy overnight.
- → What's the best way to achieve proper swirls?
-
Drop spoonfuls of cream cheese filling randomly over the batter, then use a knife or skewer to make gentle figure-eight motions. Don't over-swirl or you'll lose the marbled effect. Some pockets of pure cream cheese create wonderful texture contrasts.
- → Can I use fresh strawberries instead of cake mix?
-
This version uses strawberry cake mix for convenience and consistent flavor. To use fresh strawberries in the base, you'd need to adjust the liquid ingredients and sugar content significantly, which could affect the texture. The mix ensures reliable results.
- → How do I know when it's done baking?
-
The edges should be golden brown and slightly pulling away from the pan. The center may still appear slightly jiggly but should be set, not liquid. A tester inserted should come out with moist crumbs, not wet batter. Overbaking will dry out the cream cheese swirls.
- → Can I freeze this dessert?
-
Yes, you can freeze the baked cake for up to 3 months. Cool completely, wrap tightly in plastic wrap and foil, then freeze. Thaw overnight at room temperature before serving. The texture remains remarkably good after freezing.
- → What makes this different from marble cake?
-
While both feature swirled patterns, earthquake cake has a more dramatic, uneven appearance due to the heavier cream cheese mixture sinking and creating distinct layers. The toppings also bake into the surface, creating extra texture and flavor pockets throughout.
